Blue-green Deployments in Azure DevOps YAML Pipelines
Zero Downtime Deployments with App Service Slots
Expert generalist • Independent Contractor • Microsoft MVP • Home Assistant enthusiast Hi there! I'm Bogdan Bujdea, a software developer from Romania. I'm currently a .NET independent contractor, and in my free time I get involved in the local .NET community or I'm co-organizing the @dotnetdays conference. I consider myself an expert generalist, mostly because I enjoy trying out new stuff whenever I get the chance and I get bored pretty easily, so on this blog you'll see me posting content from programming tutorials to playing with my smart gadgets.
Creating a multi-stage YAML pipeline in Azure DevOps for .NET projects
Running tests with code coverage in Azure DevOps YAML pipelines
Bicep Infrastructure Deployment from Azure DevOps YAML Pipelines
Azure DevOps Best Practices: Breaking Down the Monolithic YAML
Production issues causing downtime are a nightmare for developers, yet few consider the downtime resulting from new releases. Typically, companies attempt to identify periods with the lowest customer activity, send advance notifications about the upcoming release and its inevitable downtime, and consider it normal. However, I prefer utilizing blue-green deployment to achieve zero downtime. At its core, it's about having two production environments: one that's live ('blue') and one that's idle ('green'). When we want to release a new version of our app, we deploy it to the idle environment, test it out, and once confident, switch traffic to this new environment, either all at once or only to a few customers.
In this manner, customers won't notice that just a moment ago they were browsing the old version, and now they are on the new one, even during peak traffic hours. Sounds promising, right? Let's explore how we can implement this using App Service Slots.
Blue-green deployment using Azure App Service Slots
Azure App Service slots allow us to host multiple versions of a web app. Think of them like parallel universes for your app. For instance, in my ASP .NET Web API project, when I push changes, I deploy them to a staging slot first. It mirrors my production environment, ensuring everything works perfectly. Then, with the mere click of a button (or a few lines in the YAML pipeline), I swap the staging slot with the production one.
Let's see some code to understand this better. When you're directly deploying to an App Service this is how the YAML looks like:
- stage: deploy_app
  displayName: 'Deploy To App Service'
  jobs:
    - job: deploy
      steps:
        - task: DownloadPipelineArtifact@2
          displayName: 'Download pipeline artifact'
          inputs:
            buildType: 'current'
            artifactName: 'drop'
            targetPath: '$(Pipeline.Workspace)/drop'
        - task: AzureWebApp@1
          displayName: 'Deploy to app service'
          inputs:
            azureSubscription: 'AzureConnection'
            appType: 'webAppLinux'
            appName: 'bogdan-todo-app'
            package: '$(Pipeline.Workspace)/drop'
            startUpCommand: 'dotnet ToDoApp.Server.dll'
            runtimeStack: 'DOTNETCORE|7.0'
The second task handles the deployment; however, during blue-green deployments, we aim to deploy to a staging slot first and then swap it with the production slot. To achieve this, we must initially create a slot for our app service.
Creating a deployment slot in Azure
Not all app service plans support deployment slots. If you have a plan lower than S1, you will encounter this message when clicking on "Deployment Slots" within your App Service.
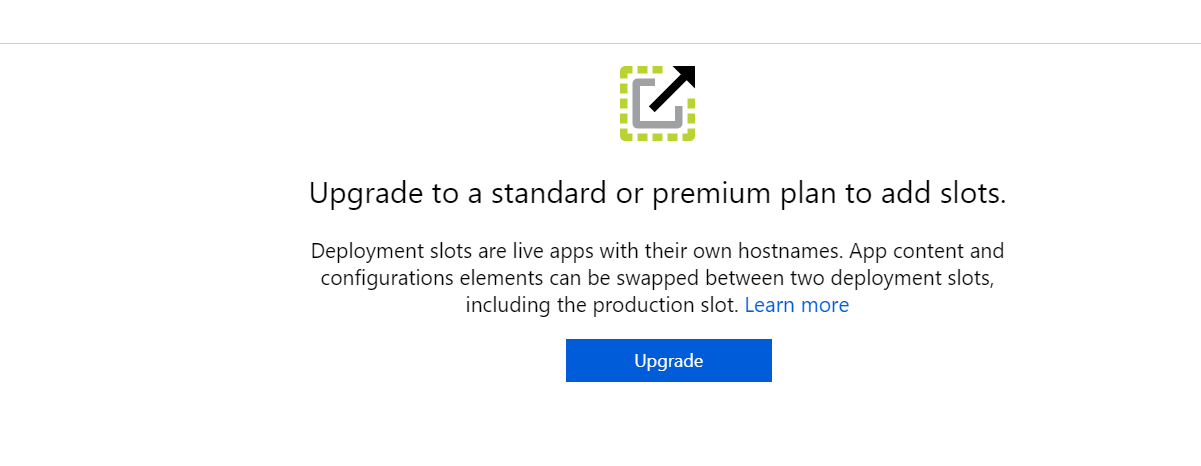
Either click on upgrade or go to the "Scale up" section and ensure that you're on a tier that has deployment slots.
Once you did that, go to "Deployment slots" and click on "Add slot":
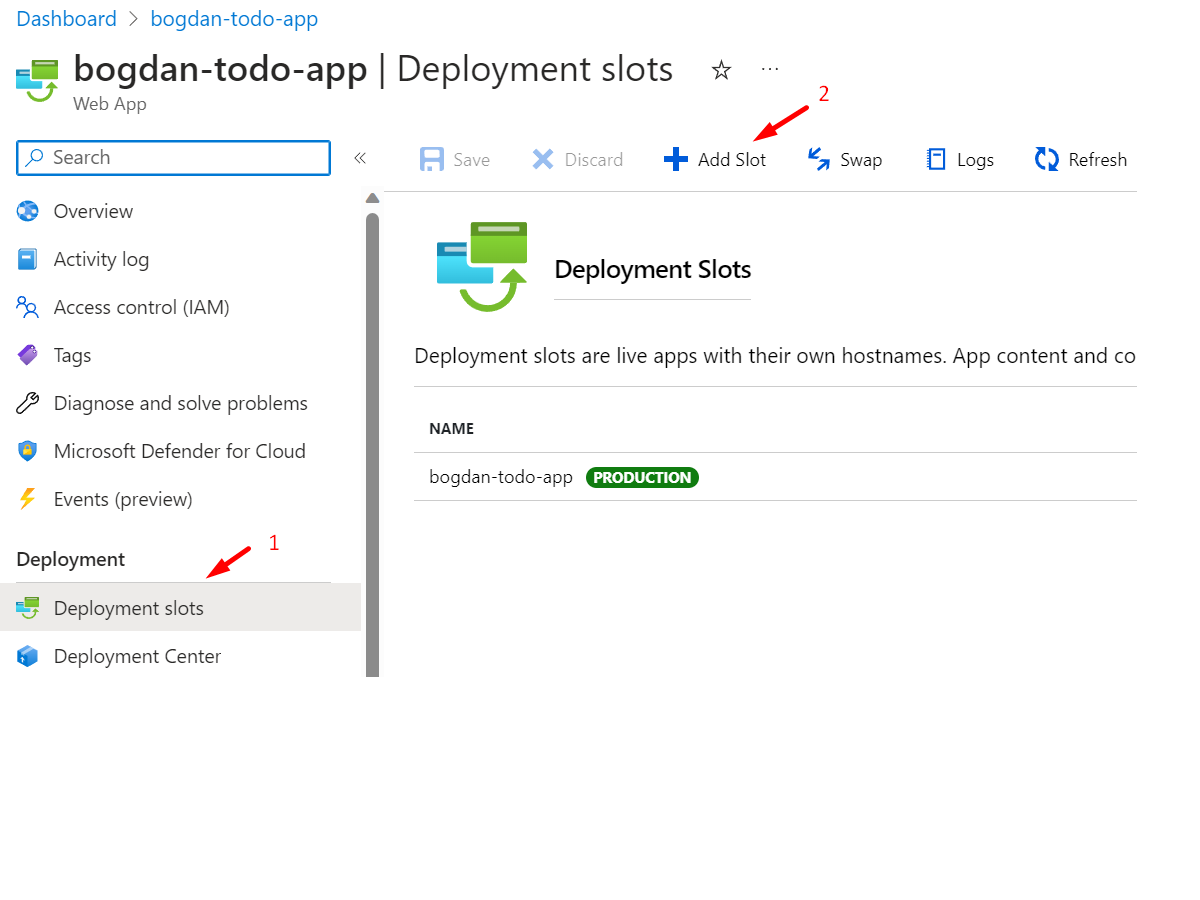
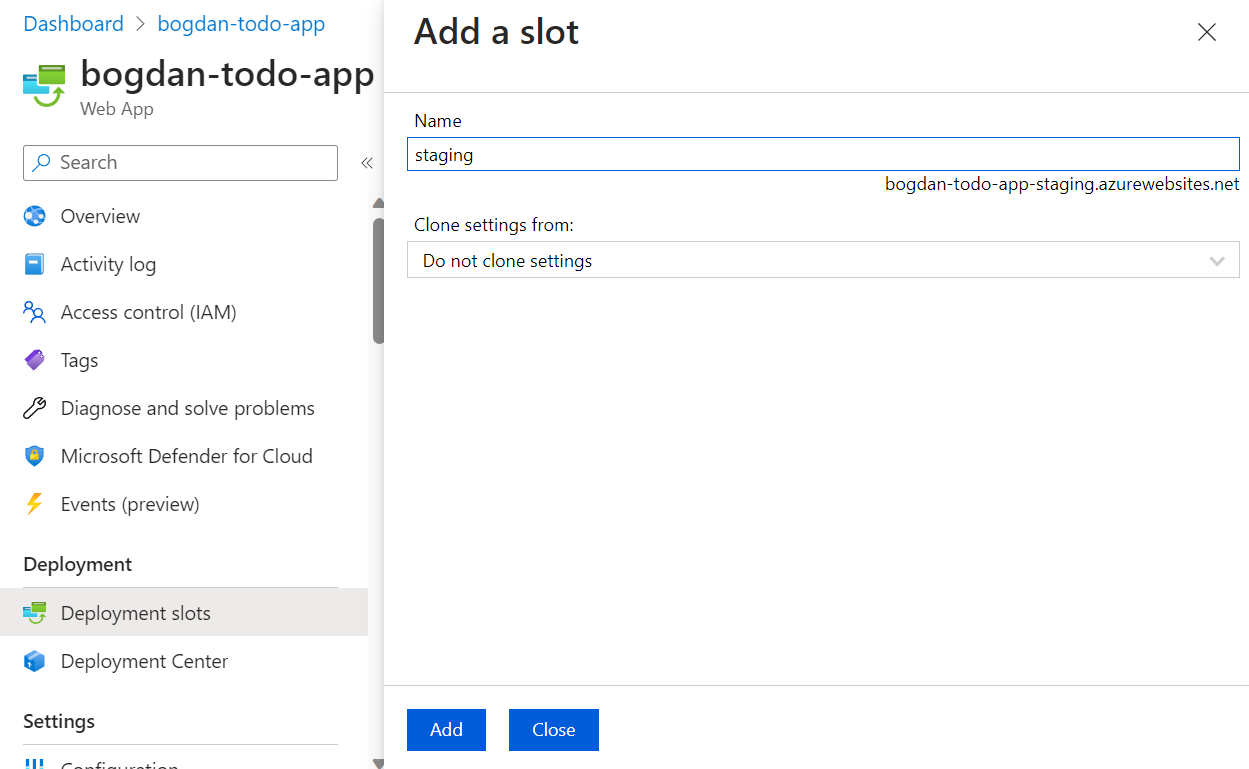
You will notice that there's already a slot called "PRODUCTION", so we will add our "STAGING" slot now. I'll call my slot "staging" and click on "Add" at the bottom of the drawer:
That's easy, but in the last post we went over Bicep infrastructure deployment, so I want to show you how to do it with Bicep as well:
Creating a deployment slot using Bicep
It's actually pretty simple, we just need to add a webAppSlot resource to our app.bicep file:
resource webAppSlot 'Microsoft.Web/sites/slots@2022-03-01' = {
  name: 'staging'
  location: location
  kind: 'app,linux'
  parent: webApp
  properties:{
    enabled: true
    httpsOnly: true
    siteConfig: {
      httpLoggingEnabled: true
      linuxFxVersion: 'DOTNETCORE|7.0'
    }
  }
}
If we push this then the pipeline will take care of applying the infrastructure updates and our slot will be created.
When the staging slot is created you will have two instances of your API running in parallel. In my case, one is bogdan-todo-app.azurewebsites.net (production) and the other one is bogdan-todo-app-staging.azurewebsites.net (staging)
Next, we'll deploy our app to the staging slot and then swap it with production.
Deploy to a staging slot from Azure Pipelines
Let me first show you the entire deployment stage and then I'll talk about what's happening:
- stage: deploy_app
  displayName: 'Deploy To App Service'
  jobs:
    - job: deploy
      steps:
        - task: DownloadPipelineArtifact@2
          displayName: 'Download pipeline artifact'
          inputs:
            buildType: 'current'
            artifactName: 'drop'
            targetPath: '$(Pipeline.Workspace)/drop'
        - task: AzureWebApp@1
          displayName: 'Deploy to staging slot'
          inputs:
            azureSubscription: 'AzureConnection'
            appType: 'webAppLinux'
            appName: 'bogdan-todo-app'
            package: '$(Pipeline.Workspace)/drop'
            deployToSlotOrASE: true
            slotName: 'staging'
            runtimeStack: 'DOTNETCORE|7.0'
            startUpCommand: 'dotnet ToDoApp.Server.dll'
        - task: AzureAppServiceManage@0
          displayName: 'Swap slot'
          inputs:
            azureSubscription: 'AzureConnection'
            Action: 'Swap Slots'
            SourceSlot: 'staging'
            WebAppName: 'bogdan-todo-app'
First, we're not deploying to the app service directly anymore, instead, we're deploying to the staging slot. To do this we've added these two lines:
    deployToSlotOrASE: true
    slotName: 'staging'
Then, once the deployment is done, we need to swap the slots. This means that traffic from production will be redirected to the staging slot and staging will become the new production. For this we're going to use the 'Swap Slots' action like this:
Action: 'Swap Slots'
SourceSlot: 'staging'
Now your app was upgraded to a new version without any downtime! The full code is in this repository: https://dev.azure.com/bujdea/_git/AzureDevopsYamlPipeline and you can also access the pipeline:
Wrapping Up
By utilizing blue-green deployments with App Service slots, we can achieve zero-downtime releases and ensure users experience seamless transitions between app versions.
Azure App Service slots, in conjunction with Azure DevOps YAML pipelines, have made blue-green deployments incredibly easy for my team. Naturally, this is just a basic demonstration of deployment slots, but in future articles, we will delve into more advanced scenarios such as health checks, deployment slot settings, and more.
What's Next?
In the next article, I'll showcase how to incorporate health checks into our Azure DevOps pipeline. This ensures that we only swap slots when our deployment is successful, adding another layer of confidence to our release process.