Updating your Twitter banner with .NET Core

Expert generalist • Independent Contractor • Microsoft MVP • Home Assistant enthusiast Hi there! I'm Bogdan Bujdea, a software developer from Romania. I'm currently a .NET independent contractor, and in my free time I get involved in the local .NET community or I'm co-organizing the @dotnetdays conference. I consider myself an expert generalist, mostly because I enjoy trying out new stuff whenever I get the chance and I get bored pretty easily, so on this blog you'll see me posting content from programming tutorials to playing with my smart gadgets.
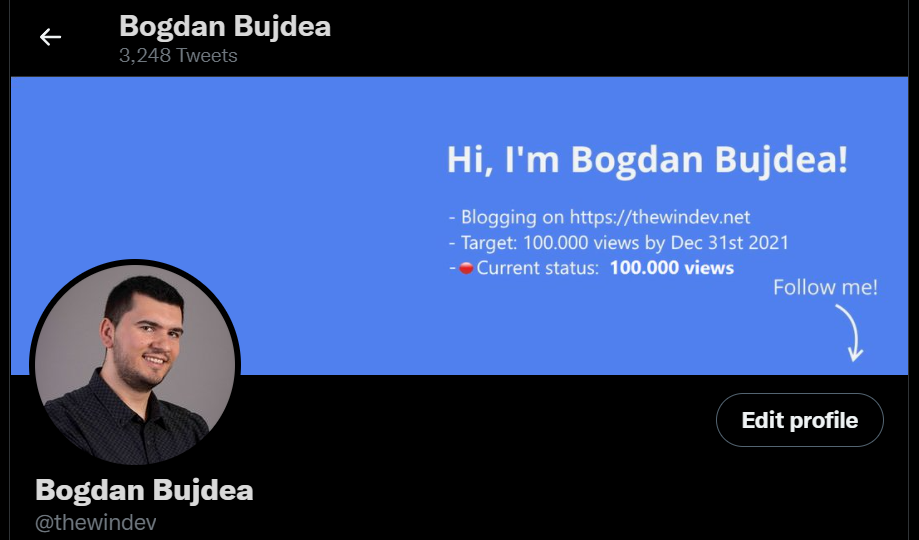
We have our Google Analytics views, we wrote them on an image, now it's time to publish that image as a Twitter banner.
Content
1. Create a Twitter app
2. Twitter API authentication
3. Changing the profile picture
1. Create a Twitter app
In order to create a Twitter app you first need a Twitter developer account. The good news is that it takes ~1 day to get it approved, so you don't have to wait very long. After the account is approved you can go ahead and create a Twitter app by going to this URL.
Add a name to the app:
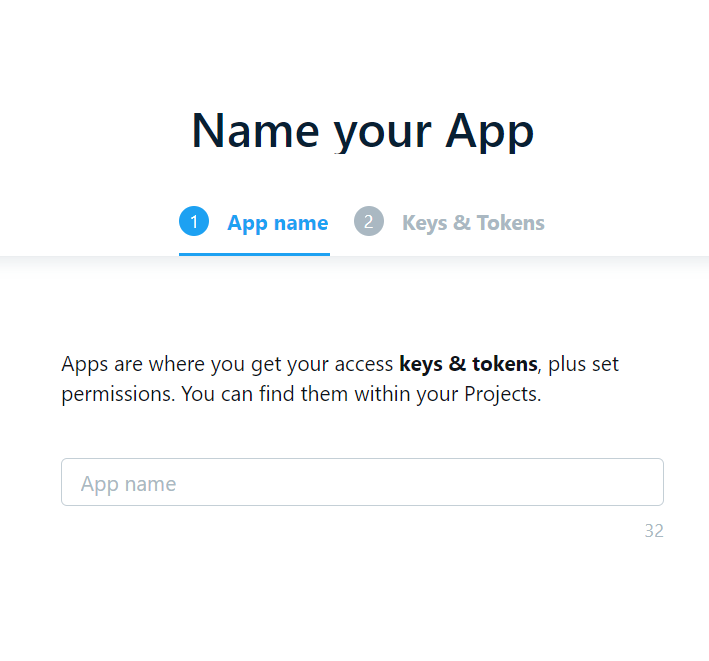
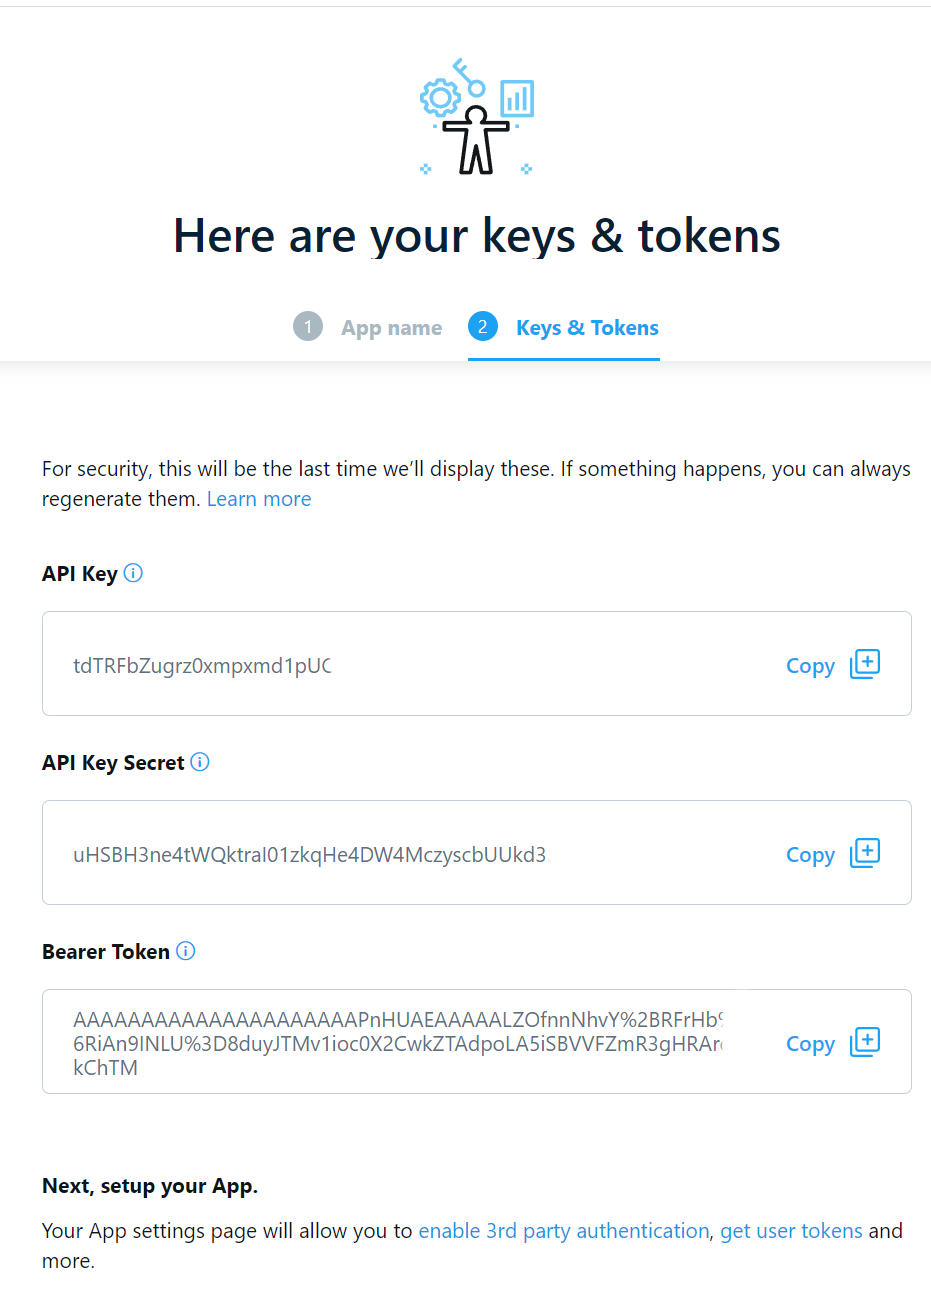
Click on Next, and on the next screen you'll be able to see your API Key and Secret. Write these down, we'll need them later.
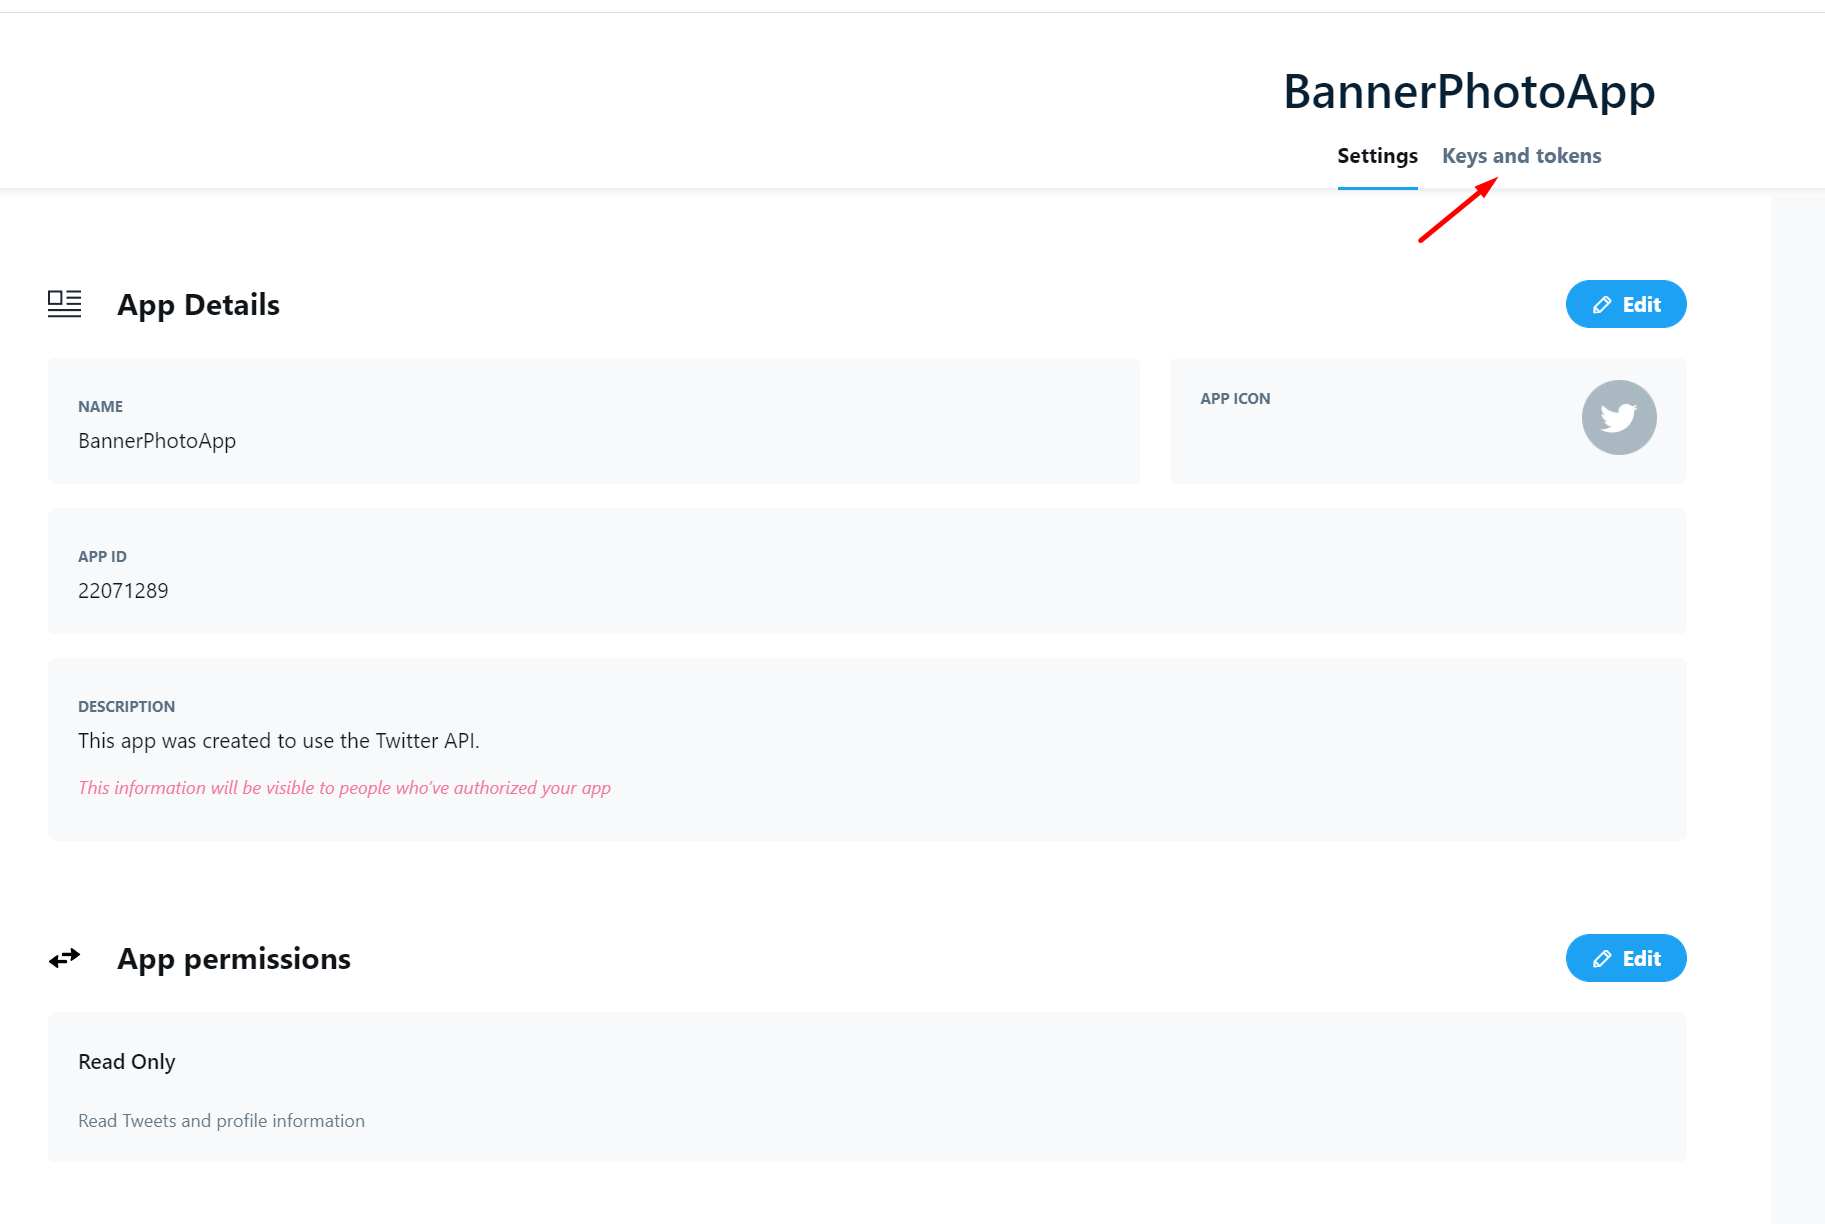
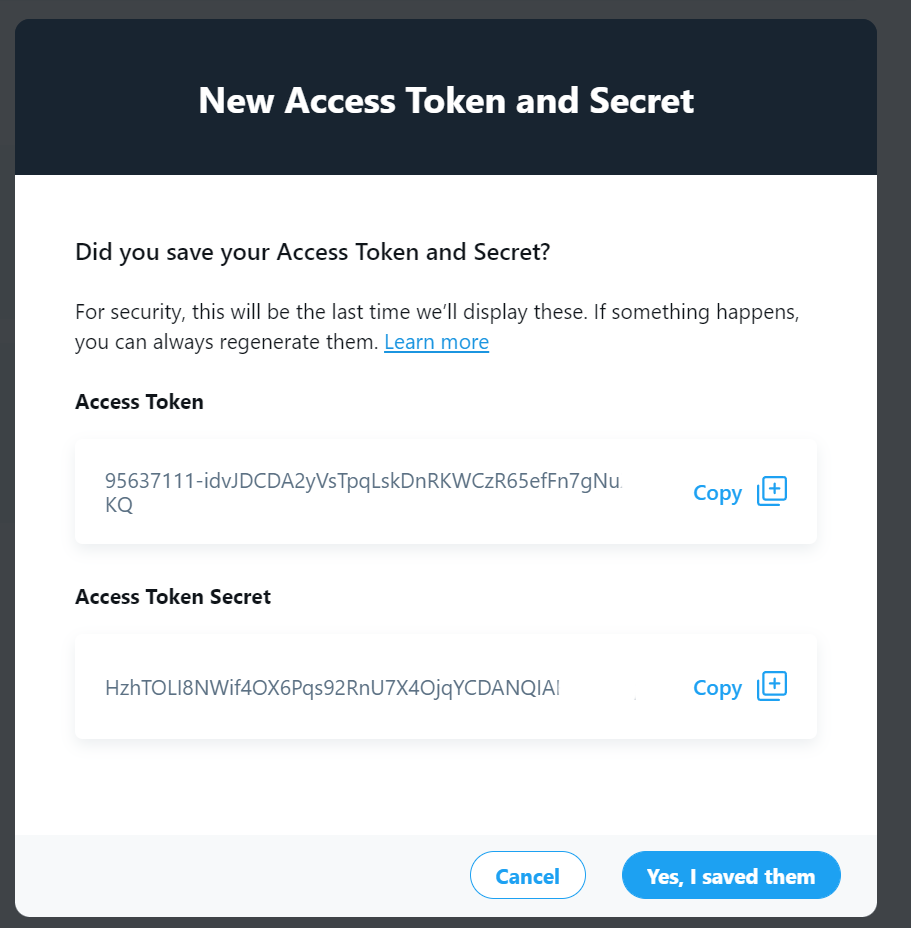
We need two other things, the Access Token and the Token Secret. For this, go to your app, then click on Keys and tokens
Click on Generate
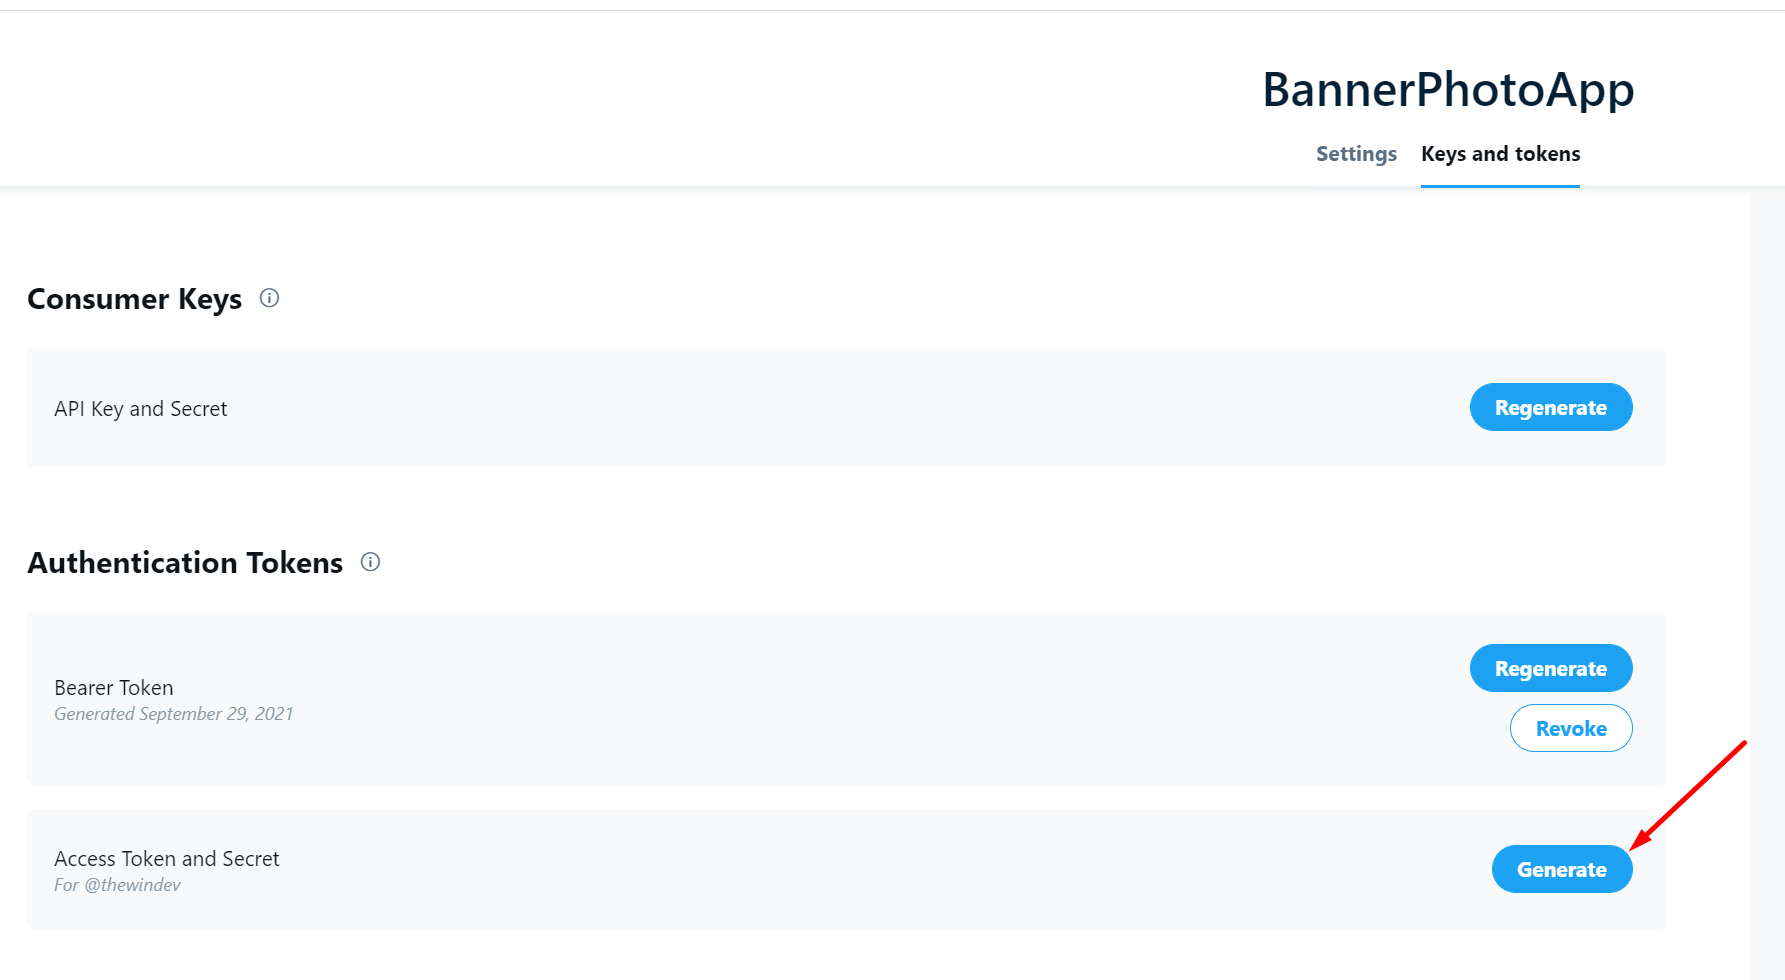
Copy the Access Token and the Access Token Secret.
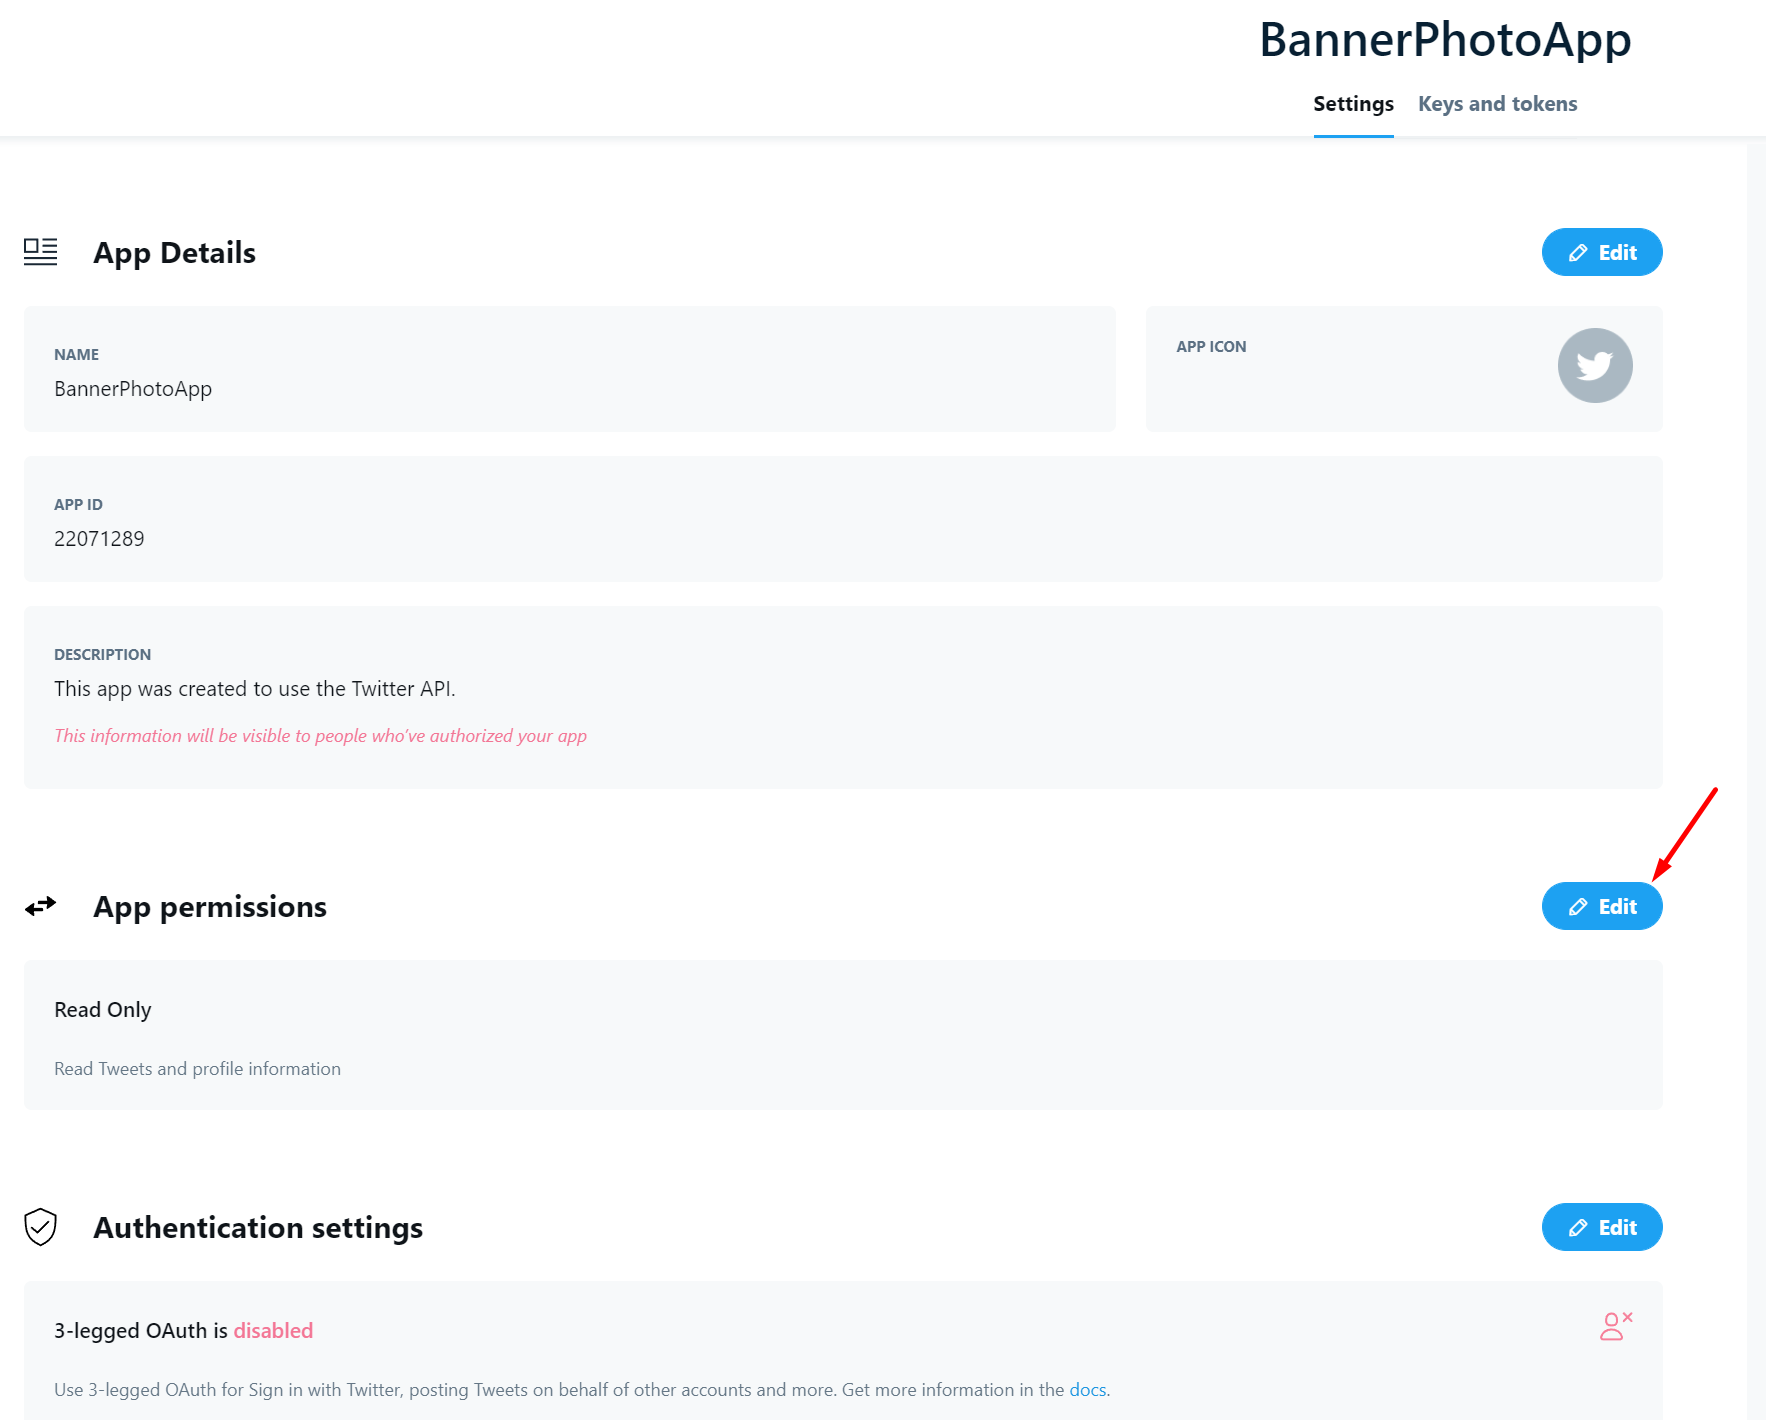
We now need one more thing and we can get down to writing some code. Our app initially has only Read access, so we need to go to our app again and click on Edit near "App permissions".
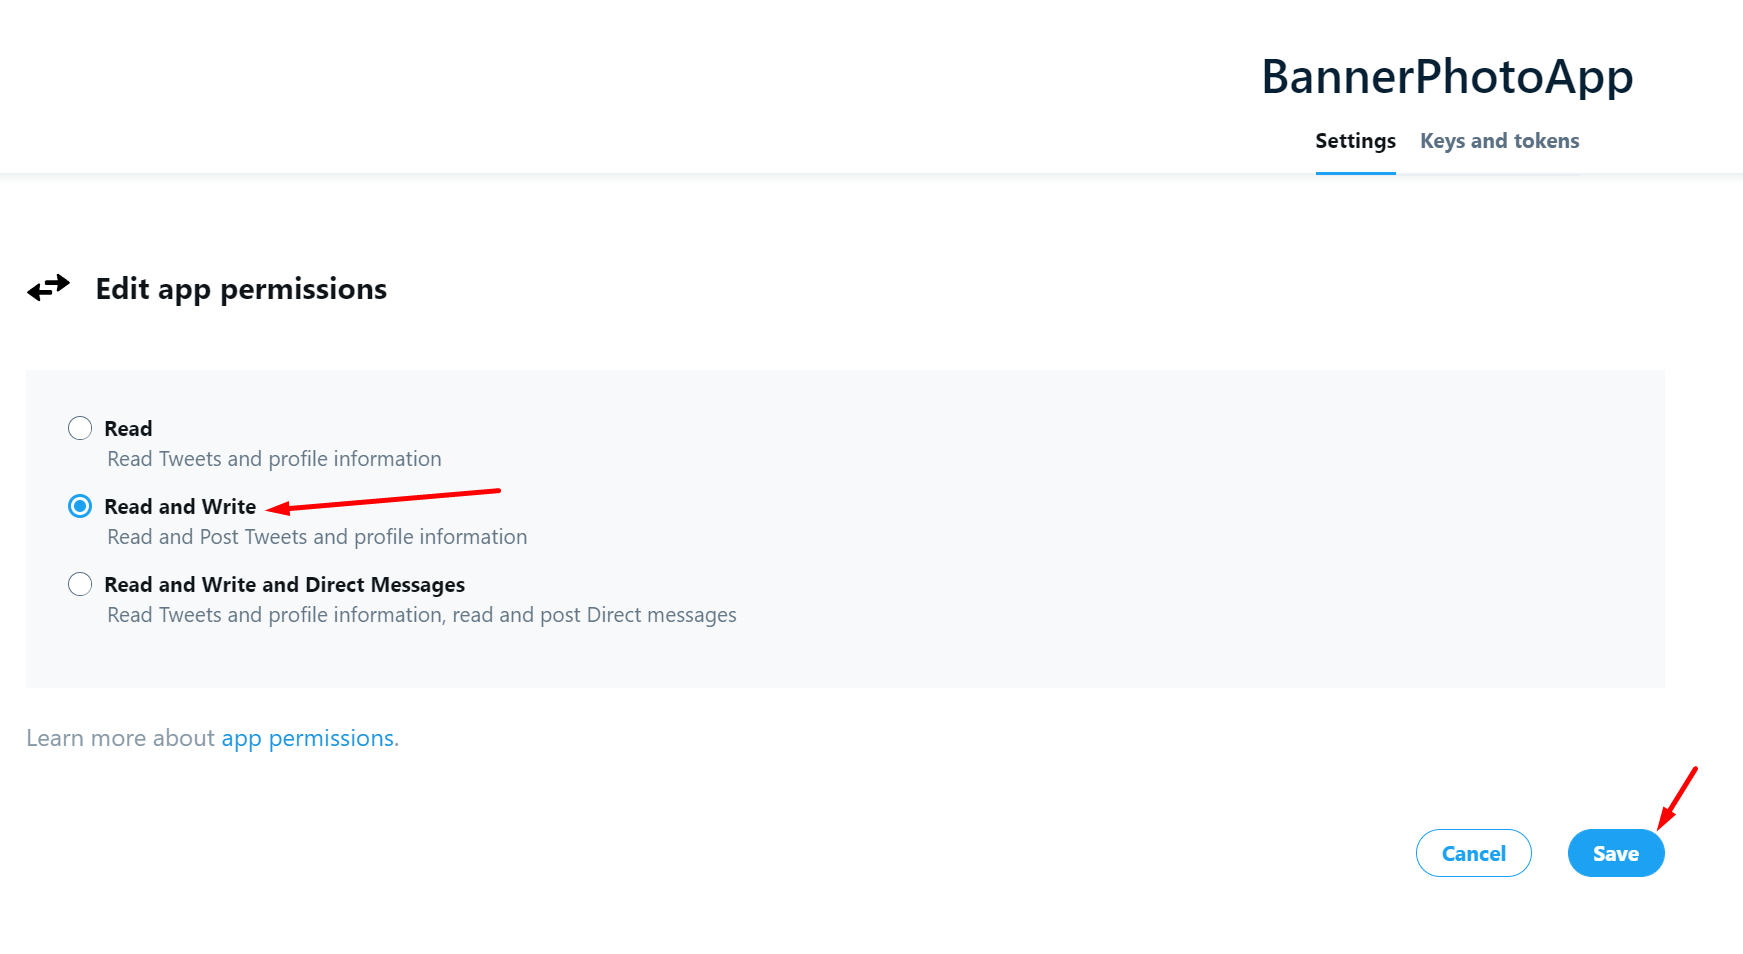
Choose Read & Write and click on Save.
2. Twitter API authentication
To make things simple, I'll use a .NET Core 3.1 console application. In the next part we'll integrate all of the code inside an Azure Function which might run on a different .NET version, but I'll worry about that when the time comes.
Once I created the console application, I installed a .NET library called Tweetinvi. A library makes things easy because I just need to give it some credentials and the it will take care of the authorization. I can do it manually of course, but it would complicate the article.
To understand better, here's how I create a Tweetinvi client:
var userClient = new TwitterClient(
    "<api key>",
    "<api key secret>",
    "<access token>",
    "<access token secret>"
)
That's it, now I can get my latest tweets like this if I want to:
var userTimeline = await twitterClient.Timelines.GetUserTimelineAsync("@thewindev");
3. Changing the profile picture
Here comes the tricky part! Tweetinvi doesn't have a method for changing the banner, but they do allow you to create a custom request to the Twitter API. So, if you look at the documentation, you can see that in order to change the banner you need to make a POST request to https://api.twitter.com/1.1/account/update_profile_banner.json , and specify the banner as a query parameter in the form of a base64 string. Initially, I tried this and I got the error "The Uri string is too long", which makes sense because my ~100kb image was bigger than the maximum size for an URL. Then I tried to add this in the body as FormUrlEncoded content, but I encountered this error:
{"code":38,"message":"banner parameter is missing"}
I thought Tweetinvi might have a bug so I tried a Node.JS library, which WORKED! Now I was really angry because I couldn't understand what was happening. Why wasn't the .NET code working and the JS code was perfectly fine?
After 1-2 hours of debugging and trying various ideas I went to sleep, there was no point in continuing because it was clear I couldn't get to a solution.
The next day I tried this again and in 15 minutes I had the solution. My initial way of changing the banner was correct, but it worked only with smaller images because they don't generate a very large URL. For example, this base64 string is actually a 1500x500 image that has only a blue background.
iVBORw0KGgoAAAANSUhEUgAABdwAAAH0CAMAAAAQWx8eAAAAAXNSR0IArs4c6QAAAARnQU1BAACxjwv8YQUAAAADUExURRQg/wTT/VkAAAAJcEhZcwAADsMAAA7DAcdvqGQAAALtSURBVHhe7cEBAQAAAIIg/69uSEAAAAAAAAAAAAAAAAAAAAAAAAAAAAAAAAAAAAAAAAAAAAAAAAAAAAAAAAAAAAAAAAAAAAAAAAAAAAAAAAAAAAAAAAAAAAAAAAAAAAAAAAAAAAAAAAAAAAAAAAAAAAAAAAAAAAAAAAAAAAAAAAAAAAAAAAAAAAAAAAAAAAAAAAAAAAAAAAAAAAAAAAAAAAAAAAAAAAAAAAAAAAAAAAAAAAAAAAAAAAAAAAAAAAAAAAAAAAAAAAAAAAAAAAAAAAAAAAAAAAAAAAAAAAAAAAAAAAAAAAAAAAAAAAAAAAAAAAAAAAAAAAAAAAAAAAAAAAAAAAAAAAAAAAAAAAAAAAAAAAAAAAAAAAAAAAAAAAAAAAAAAAAAAAAAAAAAAAAAAAAAAAAAAAAAAAAAAAAAAAAAAAAAAAAAAAAAAAAAAAAAAAAAAAAAAAAAAAAAAAAAAAAAAAAAAAAAAAAAAAAAAAAAAAAAAAAAAAAAAAAAAAAAAAAAAAAAAAAAAAAAAAAAAAAAAAAAAAAAAAAAAAAAAAAAAAAAAAAAAAAAAAAAAAAAAAAAAAAAAAAAAAAAAAAAAAAAAAAAAAAAAAAAAAAAAAAAAAAAAAAAAAAAAAAAAAAAAAAAAAAAAAAAAAAAAAAAAAAAAAAAAAAAAAAAAAAAAAAAAAAAAAAAAAAAAAAAAAAAAAAAAAAAAAAAAAAAAAAAAAAAAAAAAAAAAAAAAAAAAAAAAAAAAAAAAAAAAAAAAAAAAAAAAAAAAAAAAAAAAAAAAAAAAAAAAAAAAAAAAAAAAAAAAAAAAAAAAAAAAAAAAAAAAAAAAAAAAAAAAAAAAAAAAAAAAAAAAAAAAAAAAAAAAAAAAAAAAAAAAAAAAAAAAAAAAAAAAAAAAAAAAAAAAAAAAAAAAAAAAAAAAAAAAAAAAAAAAAAAAAAAAAAAAAAAAAAAAAAAAAAAAAAAAAAAAAAAAAAAAAAAAAAAAAAAN2p0SQABls8pUgAAAABJRU5ErkJggg==
If you go to this website and paste the code above, you will see the image.
Now I can make a POST request to https://api.twitter.com/1.1/account/update_profile_banner.json?banner=iVBORw0KGgoAAAANSUhEUgAABdwAAAH0CAM... and it will work. However, if the image is really big, we have to do something else which is not described in the documentation (at least not on the banner update page).
The process has 2 steps:
- We upload an image to Twitter using Tweetinvi
- We tell the Twitter API to change the banner photo with the image we just uploaded
The upload can be done with Tweetinvi like this:
var imageBytes = await File.ReadAllBytesAsync("d:\\new-banner.png");
var uploadResult = await userClient.Upload.UploadMessageImageAsync(imageBytes);
This call will return some information about the image we just uploaded, including its media ID. Now, instead of calling the POST method using the "banner" query param, we will use a query parameter called media_id.
    var url = $"https://api.twitter.com/1.1/account/update_profile_banner.json?media_id={uploadResult.UploadedMediaInfo.MediaId}";
    await userClient.Execute.RequestAsync(request =>
    {
        request.Url = url;
        request.HttpMethod = HttpMethod.POST;
    });
Now, the Twitter banner is updated with the image we specified.
The next post will cover the integration of all the code inside an Azure Function and then I'll do a live stream with the entire process from the beginning. Follow me on Twitter if you want the latest updates about this, or subscribe to the newsletter using the form above!