Communicating with your bot from Microsoft Teams

Expert generalist • Independent Contractor • Microsoft MVP • Home Assistant enthusiast Hi there! I'm Bogdan Bujdea, a software developer from Romania. I'm currently a .NET independent contractor, and in my free time I get involved in the local .NET community or I'm co-organizing the @dotnetdays conference. I consider myself an expert generalist, mostly because I enjoy trying out new stuff whenever I get the chance and I get bored pretty easily, so on this blog you'll see me posting content from programming tutorials to playing with my smart gadgets.
In the previous article I showed you how you can create your own bot in C# and talk to it by using the Bot Emulator. Now, I'm going to show you how to communicate with it from Microsoft Teams. There are two approaches, one for production purposes and one that allows you to debug it locally from Visual Studio. We'll go with the second approach, and in the next post I'll show you how to deploy it in Azure.
Content
1. Create an Azure Bot
Prerequisites:
- Azure subscription
- MS Teams account
- ngrok
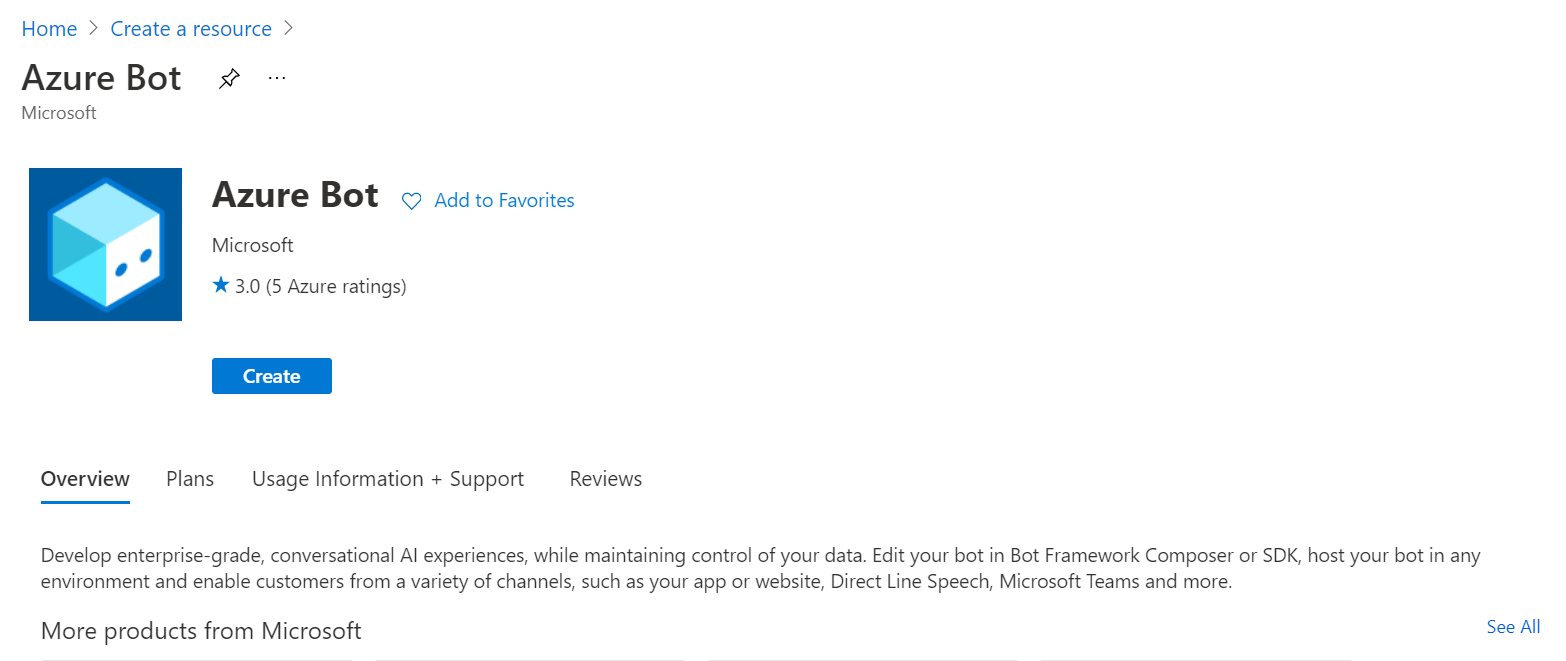
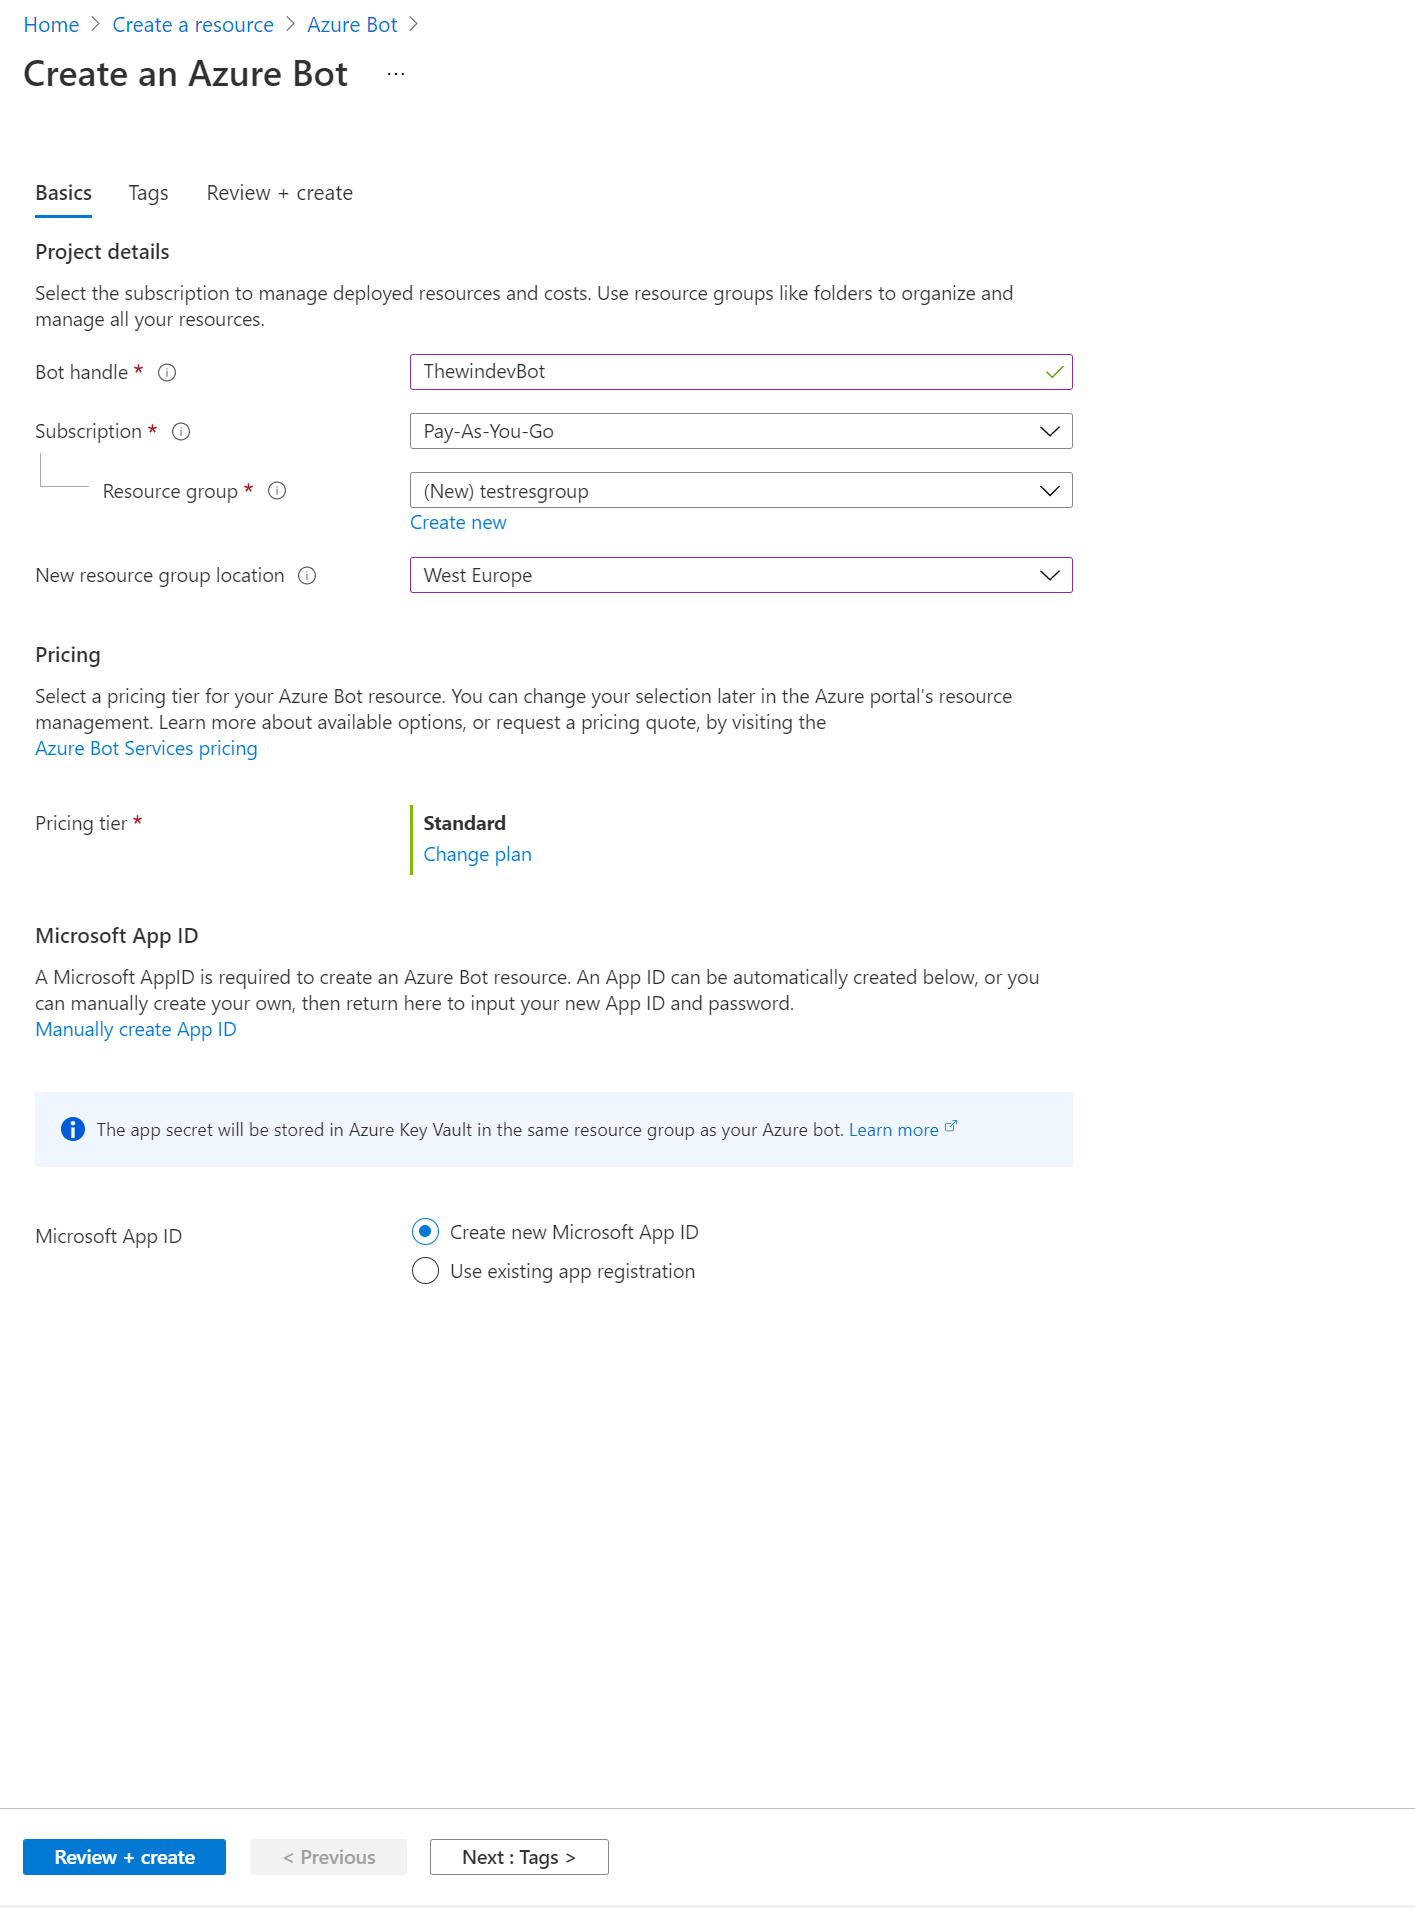
You'll first need to login into the Azure Portal and create a new Azure Bot.
Choose your region or the pricing plan you need, it doesn't have to be the same as in the screenshot below.
That's it for the first step, our bot is created but we still have to add it to MS Teams
2. Connect the bot to the MS Teams channel
Connecting the bot to MS Teams is not that complicated. We first need to add a Teams channel by going to the "Channels" option and clicking on the Teams icon where it says "Add a featured channel":
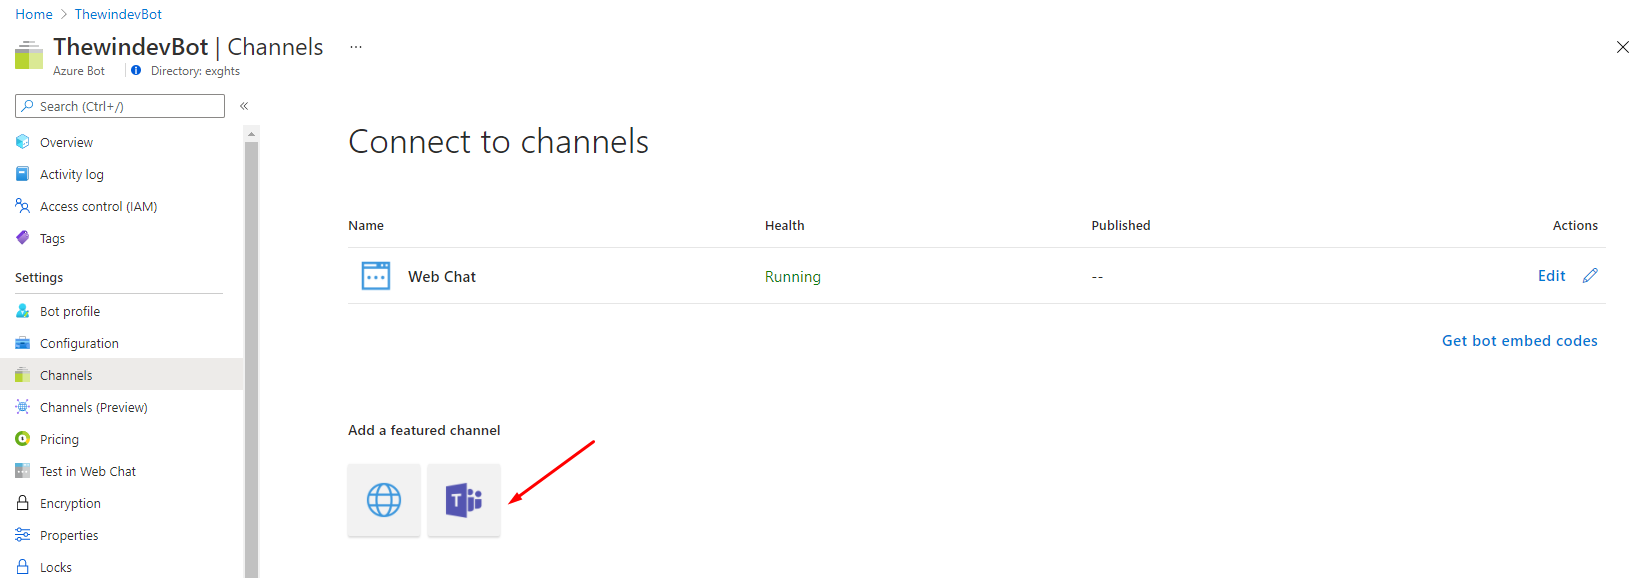
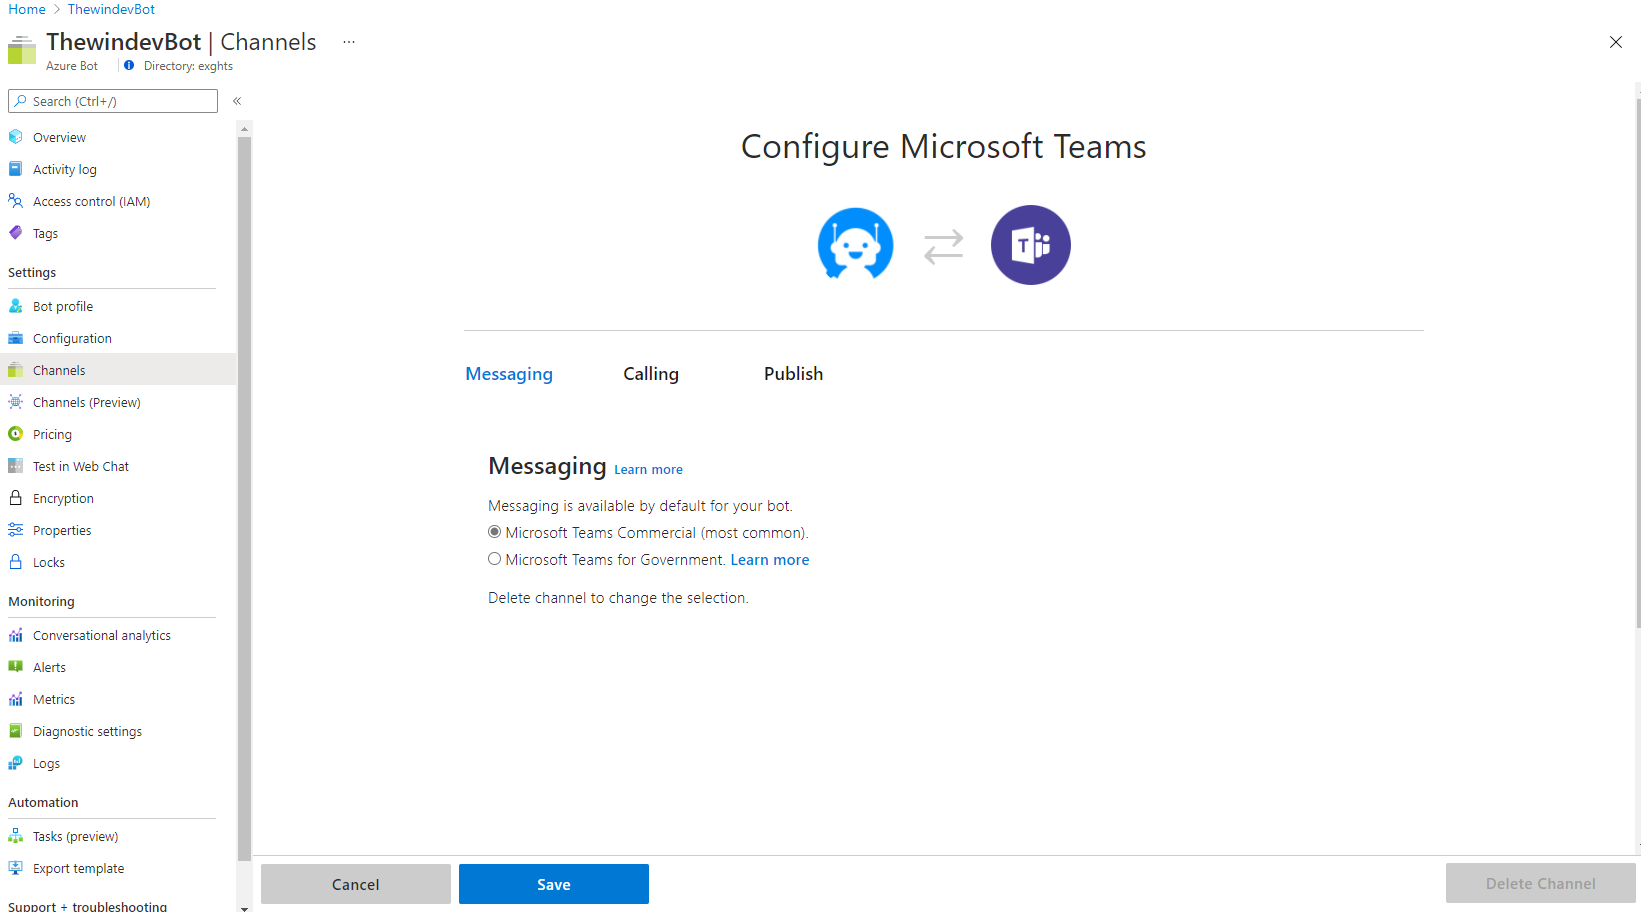
Now you'll have to click on Save and agree to the terms and conditions:
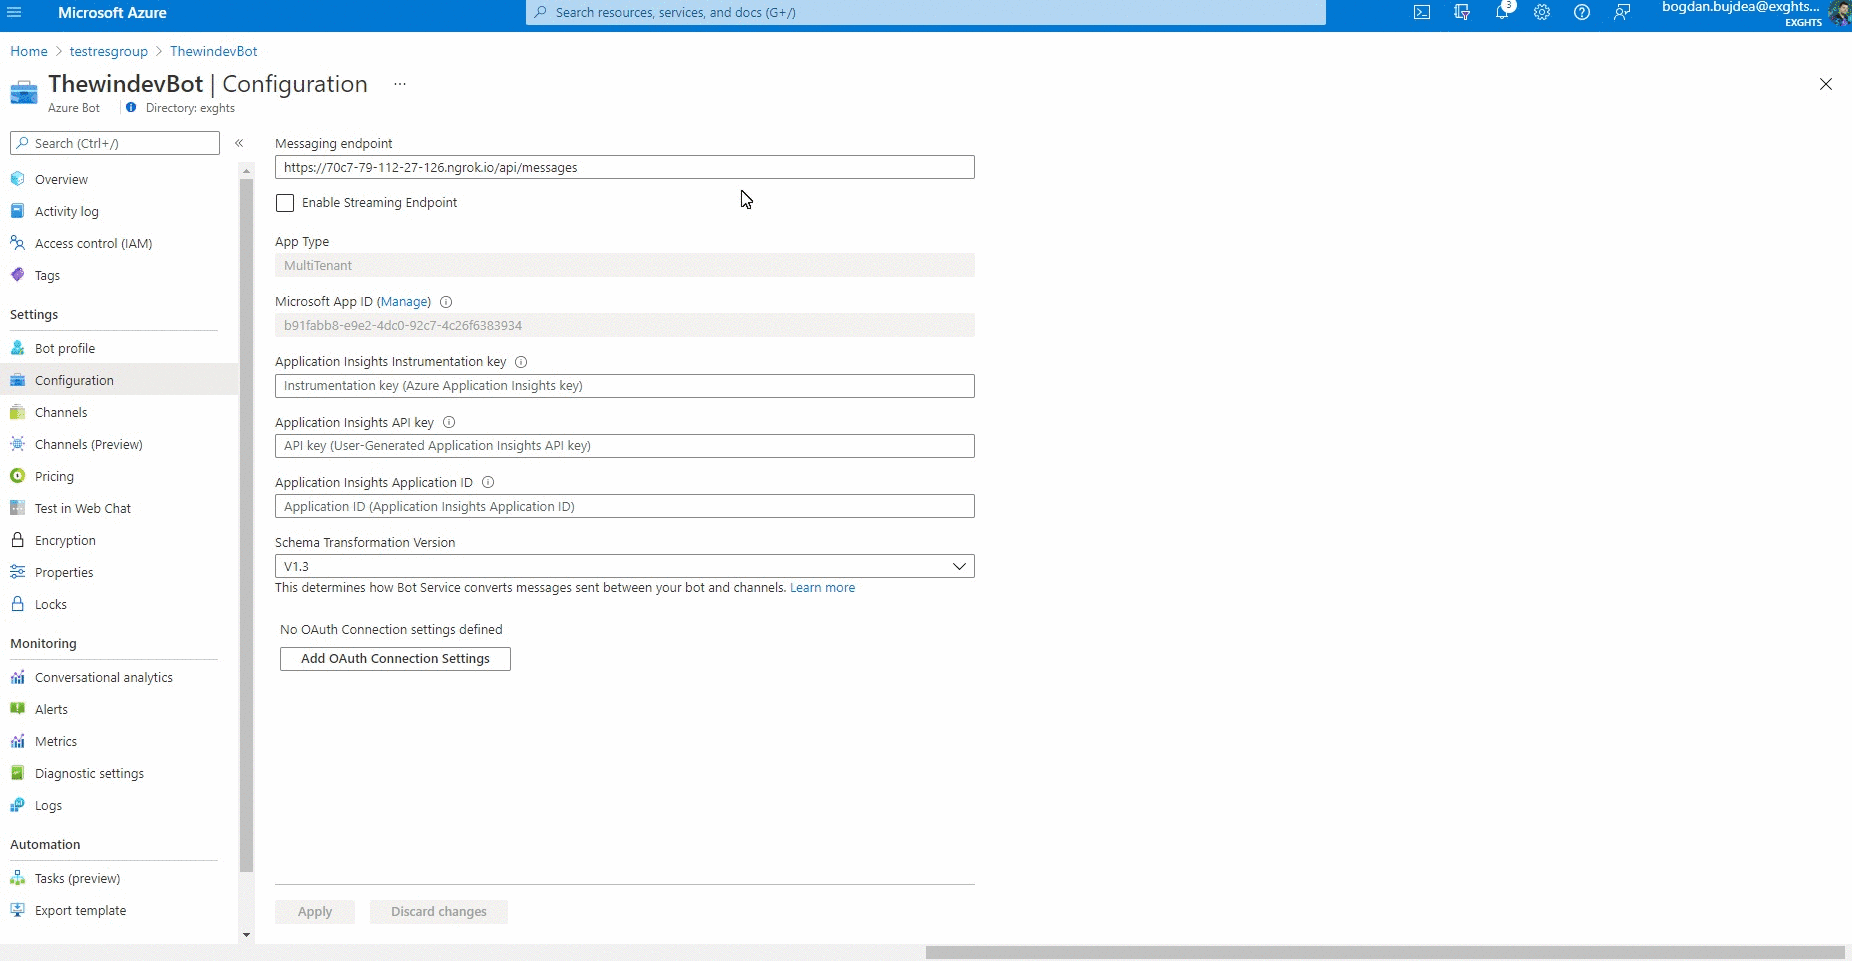
For the next step we need to head over to the "Configuration" tab.
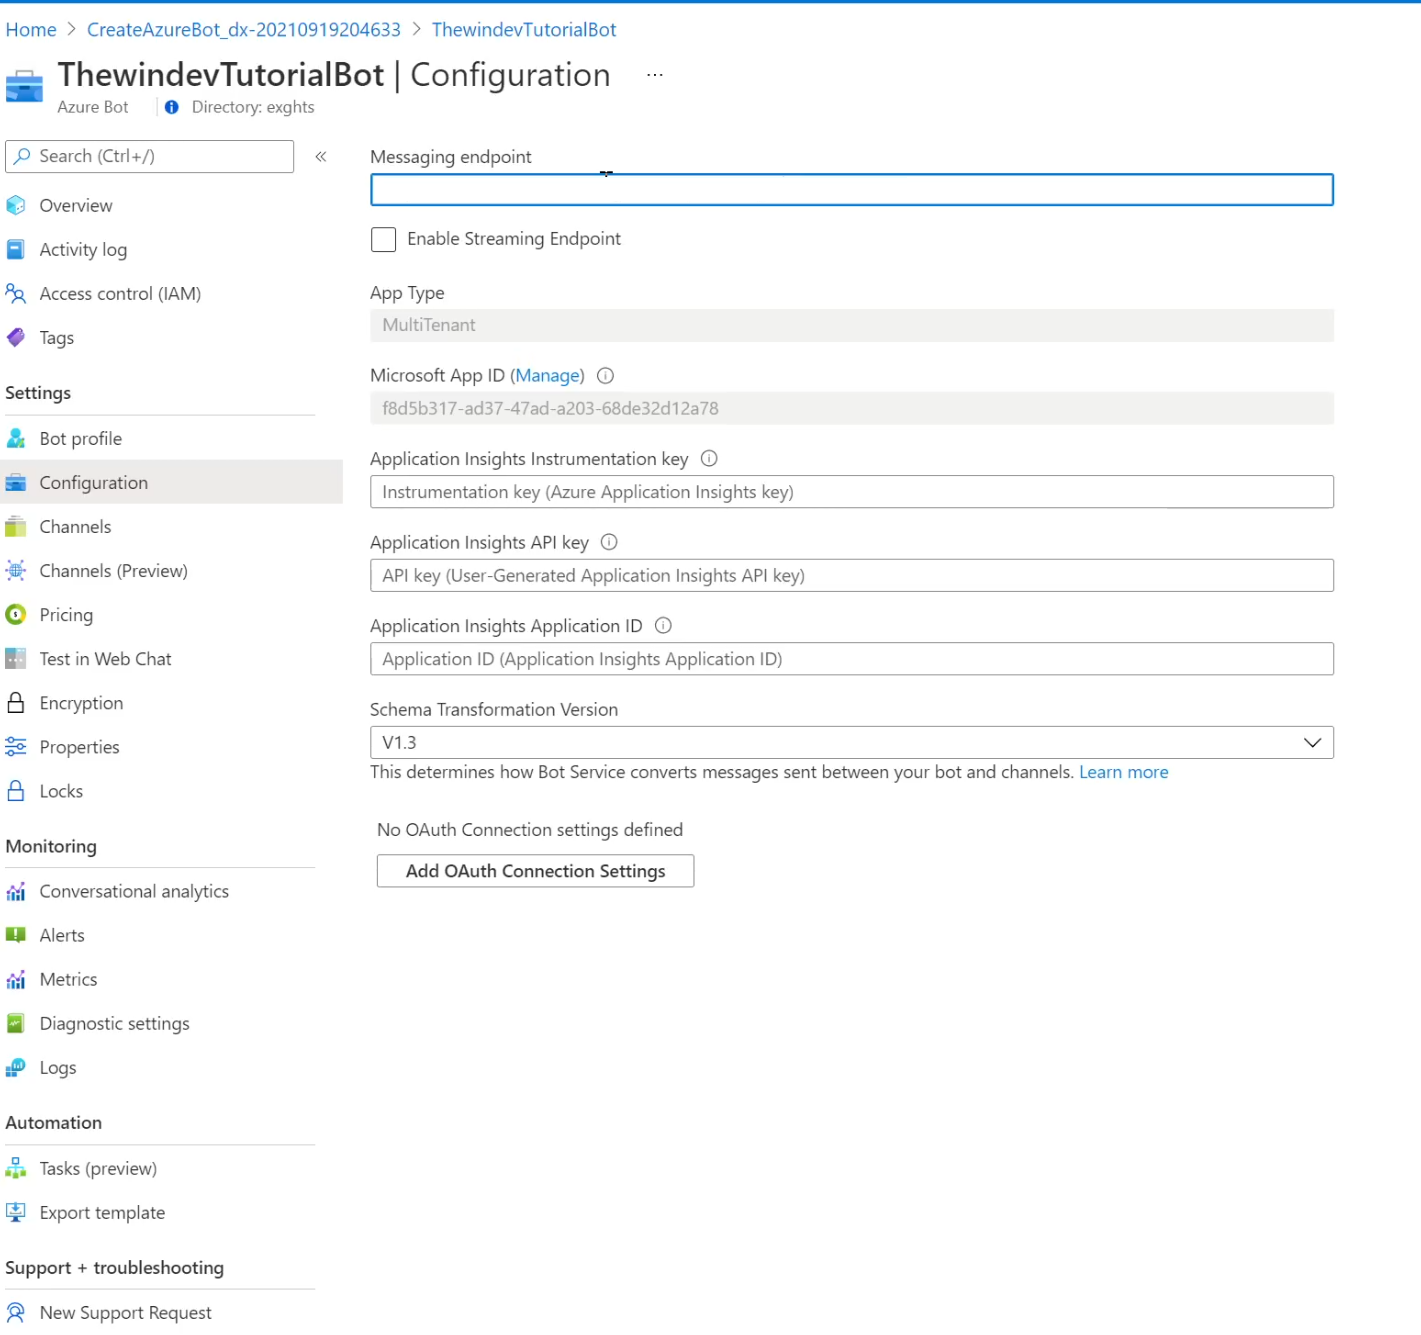
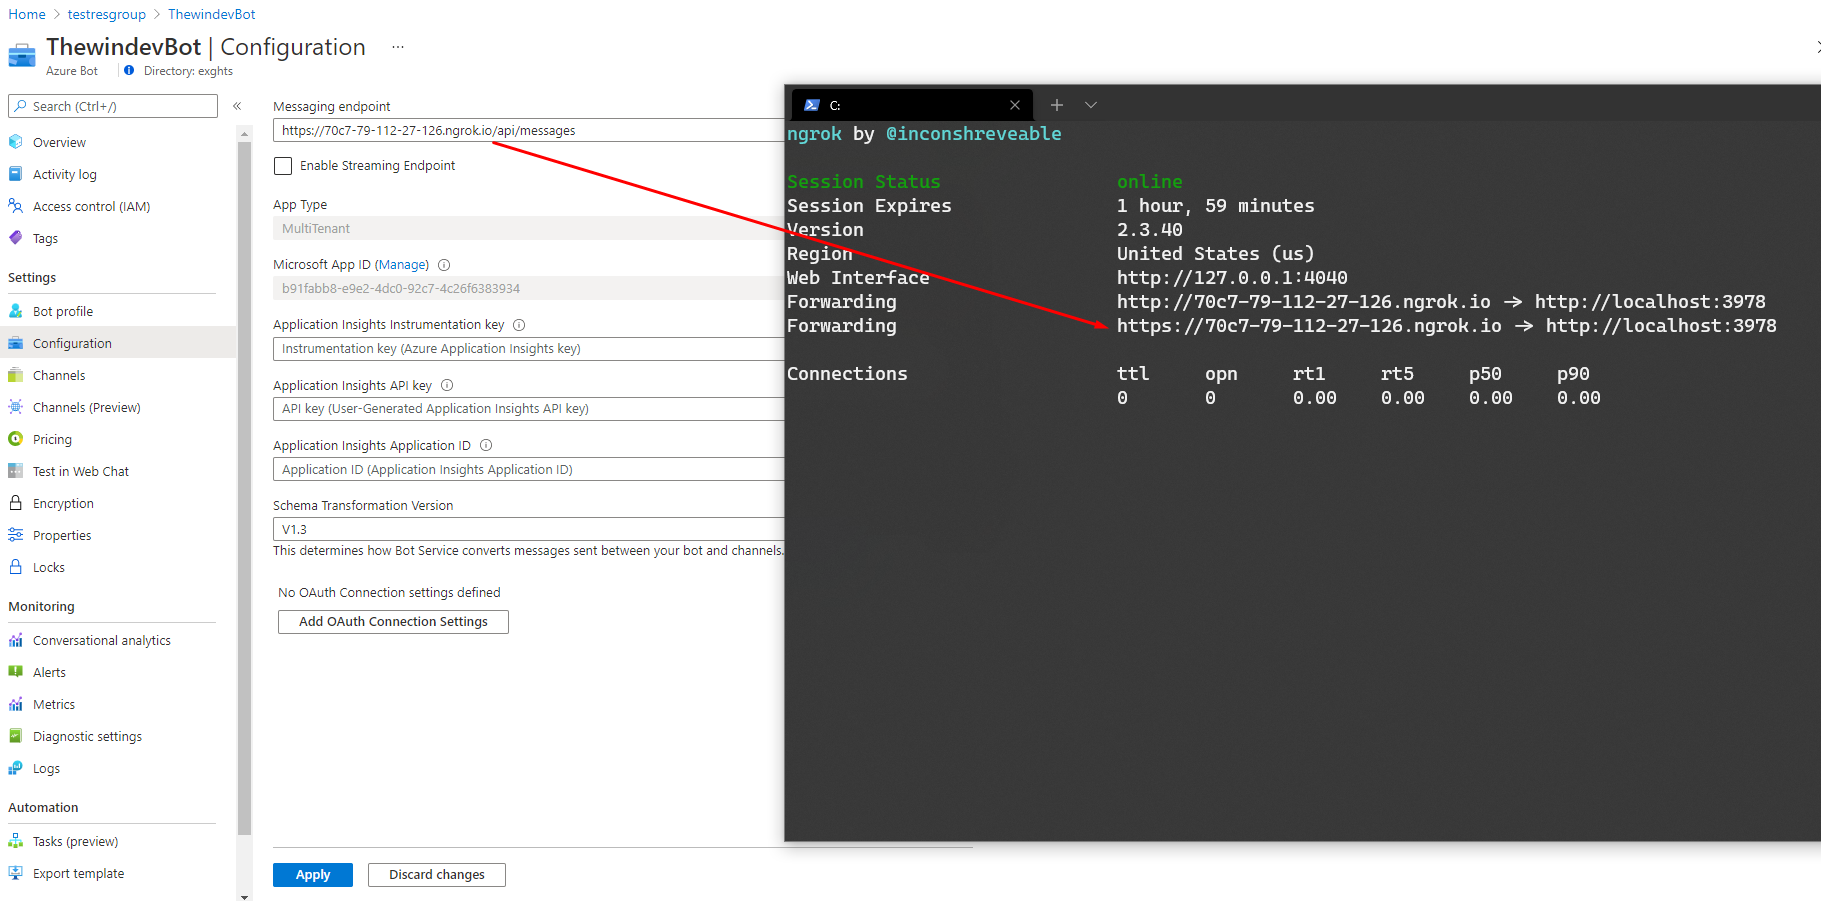
Here we can configure the messaging endpoint where it can send the messages. Usually, this should be another app deployed in Azure, but in order to make things simple we're going to connect the bot to our local machine by using ngrok.
With ngrok you can expose a port from your machine to the internet, and that's what we're going to do by using this command:
ngrok http 3978 --host-header=localhost:3978
If you remember from the past article, our web app uses the port 3978 for communication, so we need to expose this port to the internet. The command above will generate the following output:
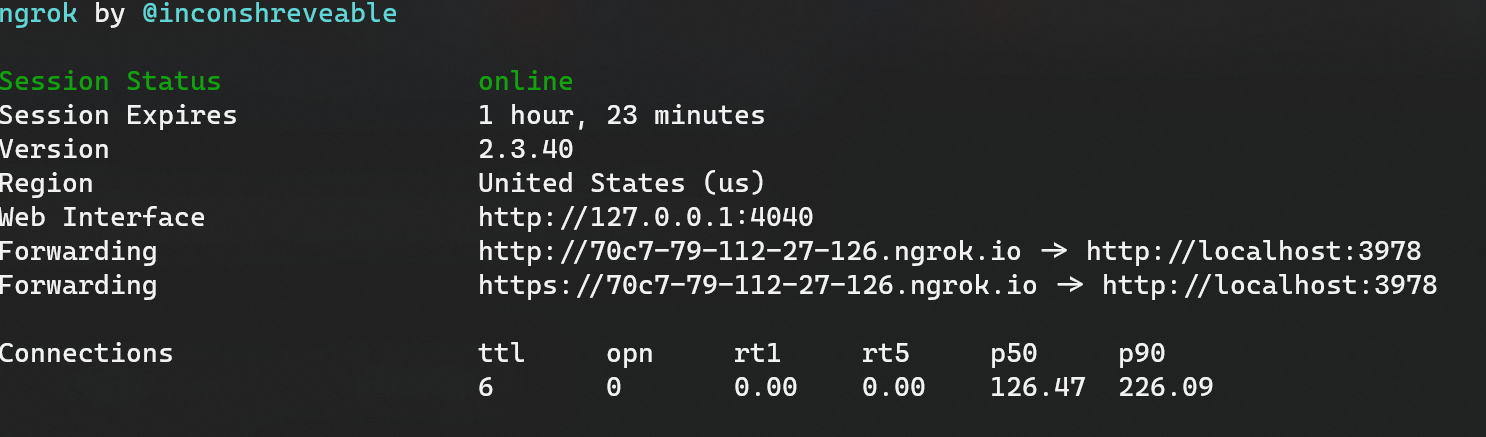
We need to grab the https endpoint and use it in the bot configuration like this, by appending /api/messages to it:
Now you can go back to channels and click on the Teams icon. This should redirect you to a conversation with the bot inside MS Teams (web or desktop, depends on your preferences), and you can now try sending a message. The only thing left to do is to run the project from Visual Studio that we created on the previous post.
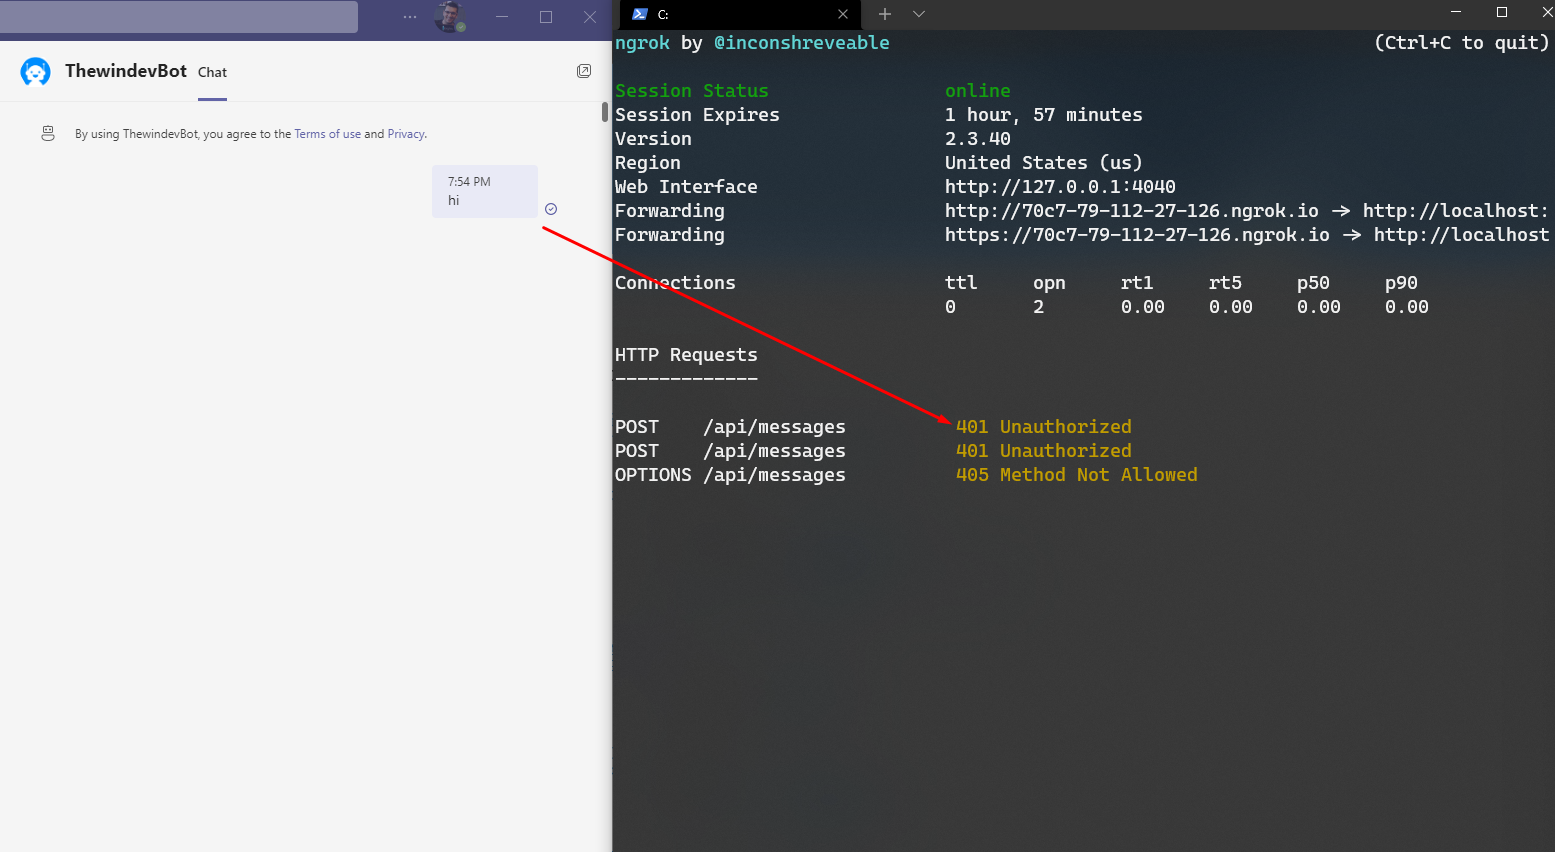
As you can see, the bot isn't replying back and if we look at the ngrok console we see a 401 status code returned by our bot. This happens because we need an app id and secret in order to connect to our Azure Bot. Follow the steps below to:
- create a new Secret
- get the Microsoft App Id of the bot
- paste them inside appsettings.json
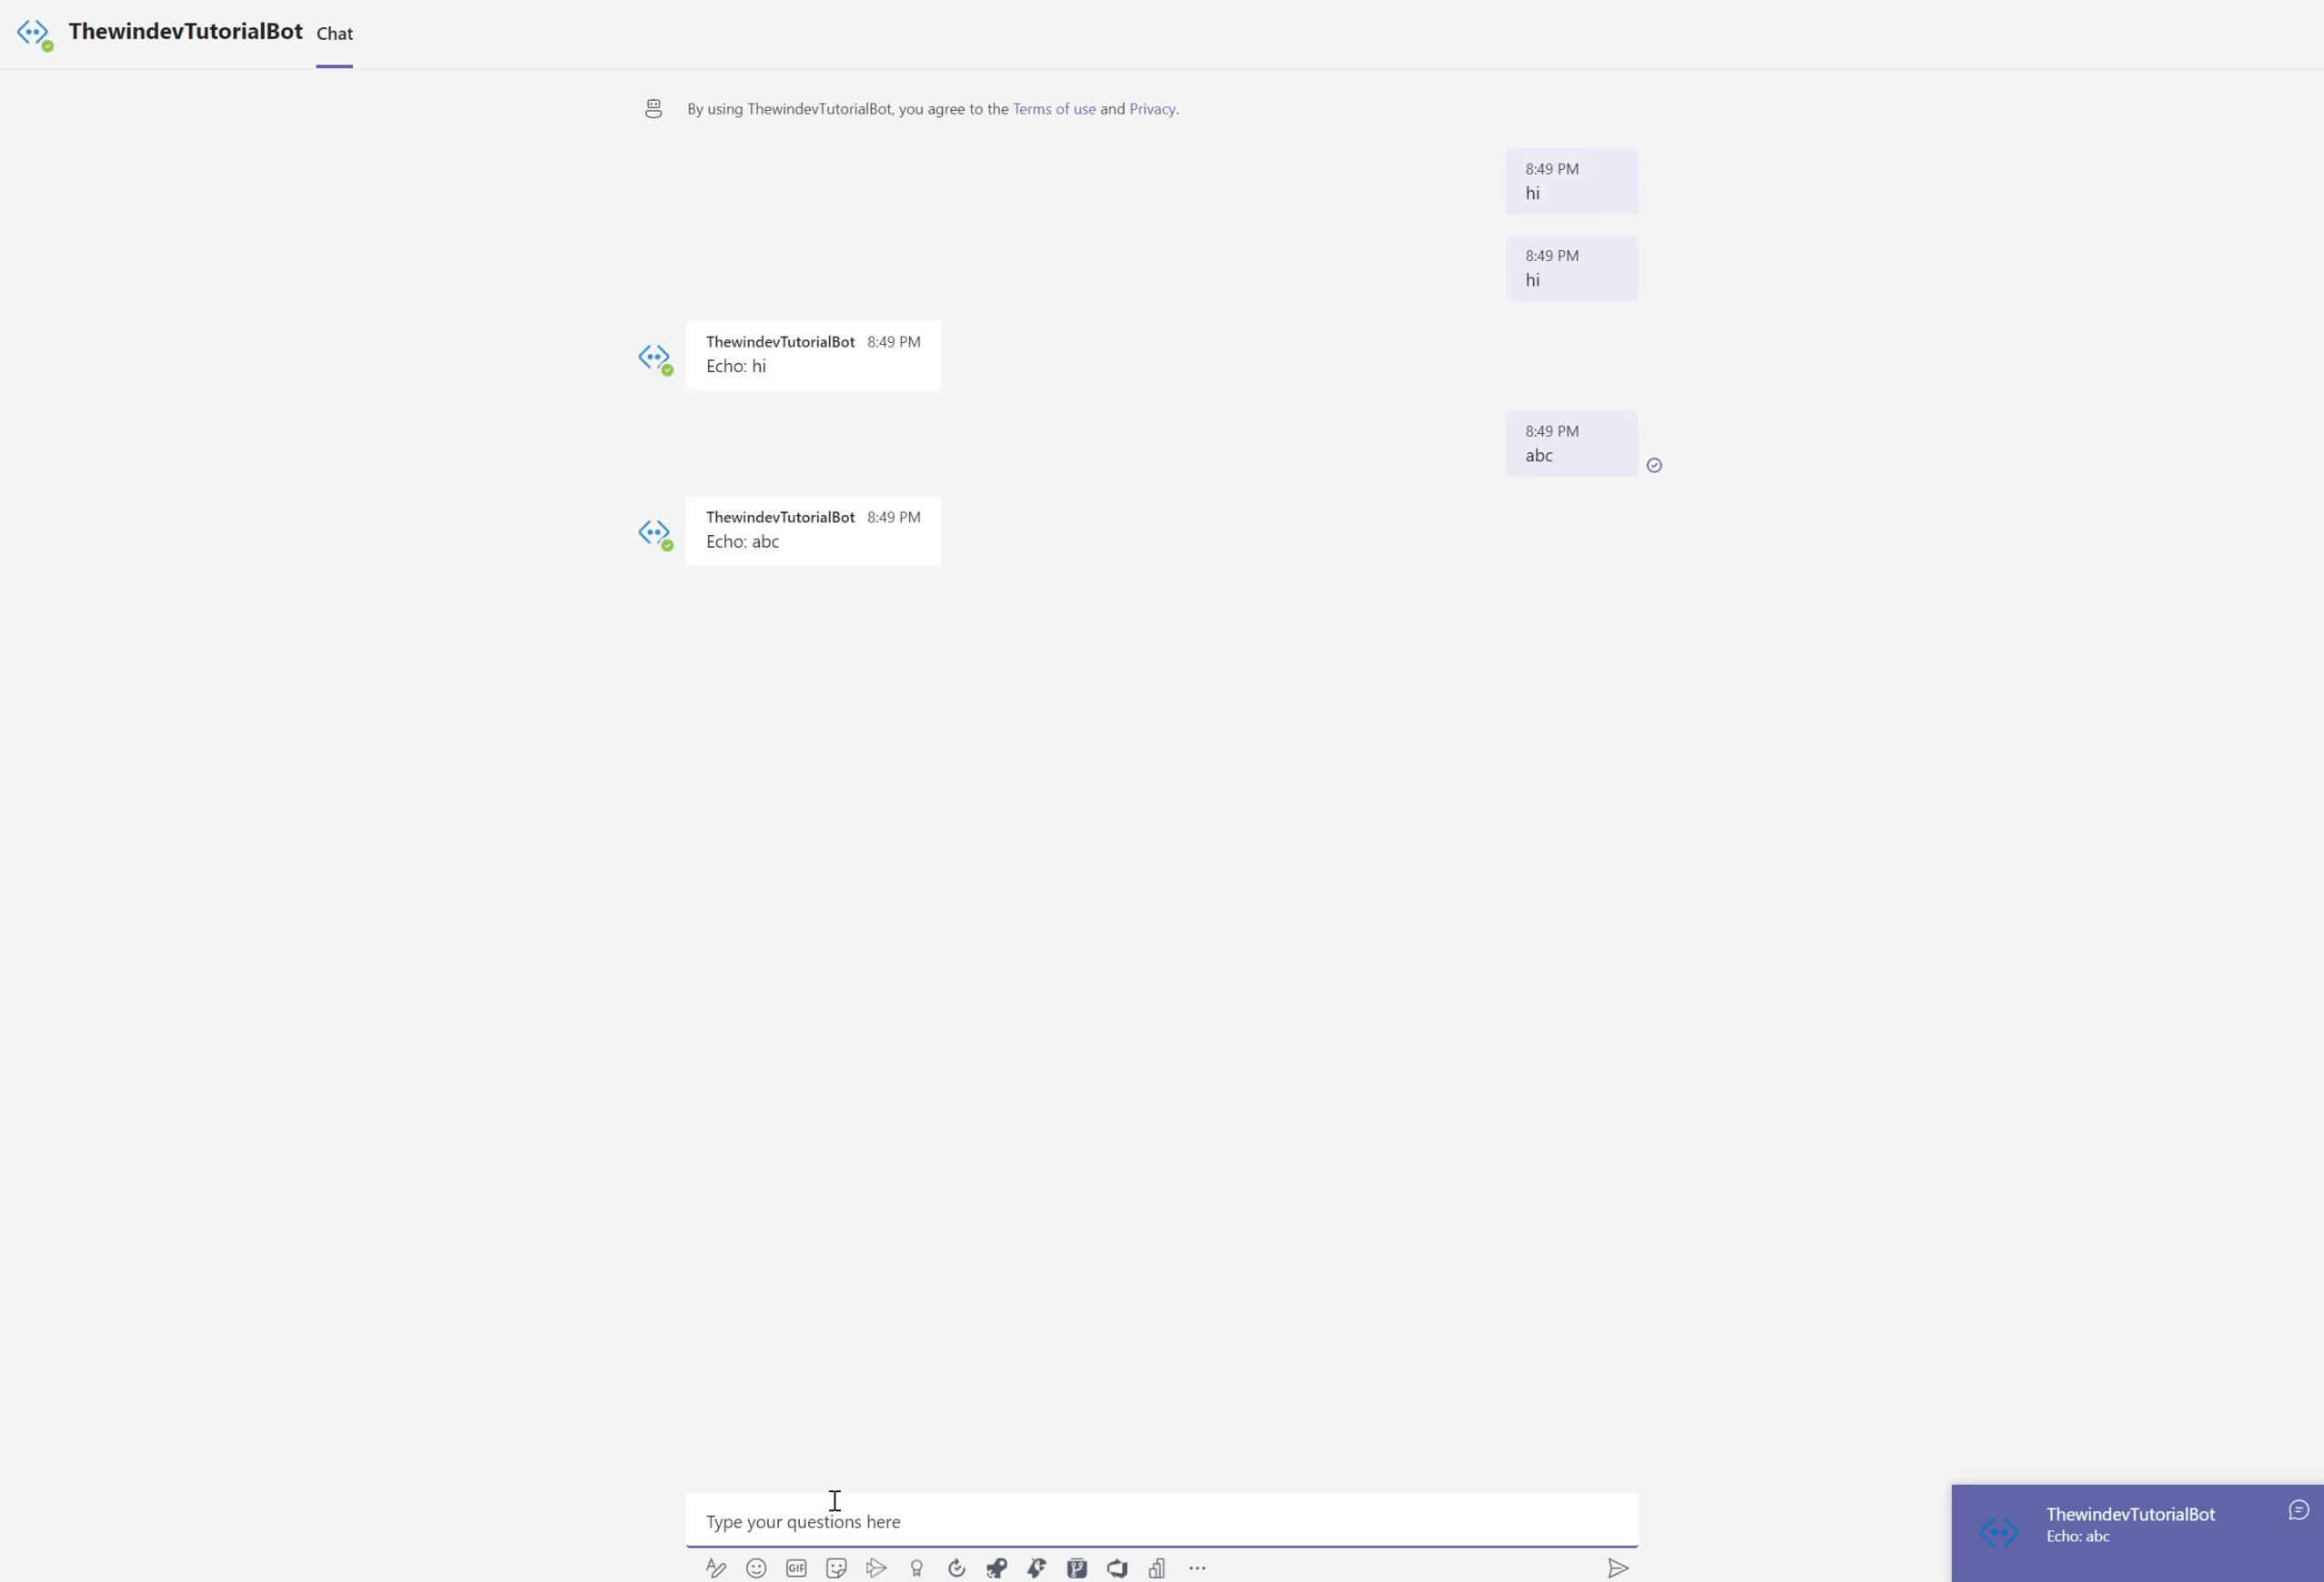
Once you do this you need to run the bot again in Visual Studio and send a message from Teams, now everything should work ok and the bot will echo back whatever you send it.
The advantage of this approach is that you can debug every message you send by setting breakpoints in Visual Studio, but each time you start ngrok you have to change the URL in Azure as well. In the next post we'll deploy our bot to Azure, as you should do when you send it to production.
If you don't understand something or you're stuck somewhere then please let me know in the comments and I'll try to cover this in a YouTube video.
PS: You can subscribe to the newsletter at the top of the article or follow me on Twitter, so you can get notified instantly when I post something new.